# Setup Wasabi S3 as file repository
Instructions how to setup a Wasabi bucket as file repository
# Pre-requirements
You need to have a Wasabi account. If not, you can register here wasabi.com (opens new window)
# Setup Guide
This guide will walk you through the creation of a bucket, the configuration of the bucket and the creation of a user, before it helps you to configure it in psono.
# Create bucket
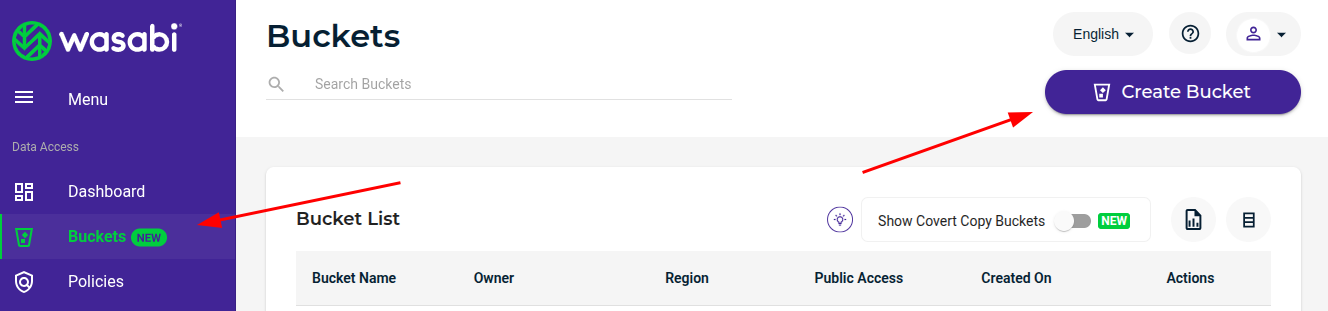
Login to console.wasabisys.com
In the right menu click "Buckets"
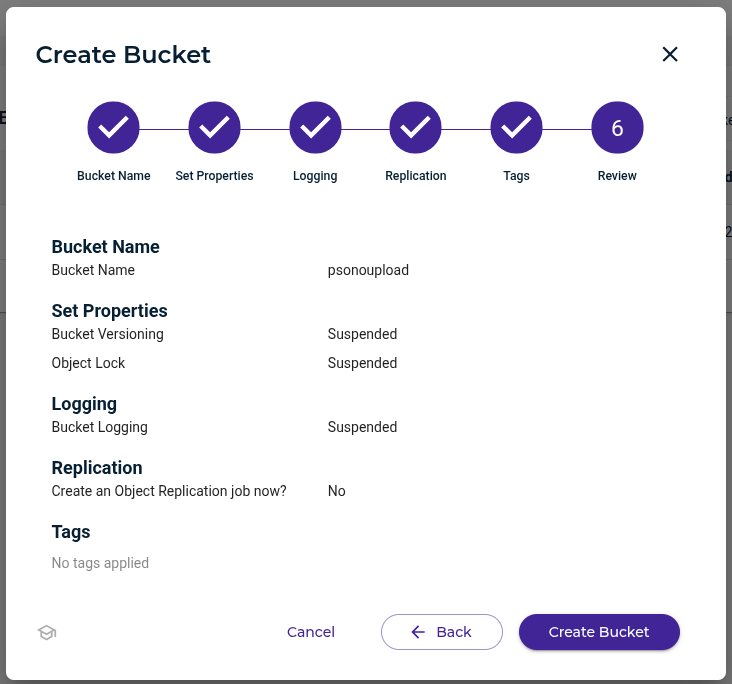
- Specify a name and region

TIP
Remember the region and the name of the bucket. You will need it later.
- Continue to click next till you click "Create"
# Create Policy
- Click on policies and then "Create Policy"

- Specify Details
Specify a name and the following policy:
{
  "Version": "2012-10-17",
  "Statement": [
    {
      "Sid": "GrantFullAccessToPsonoupload",
      "Effect": "Allow",
      "Action": "s3:*",
      "Resource": [
        "arn:aws:s3:::psonoupload",
        "arn:aws:s3:::psonoupload/*"
      ]
    }
  ]
}
TIP
Don't forget to adjust the policy and use your bucket name.
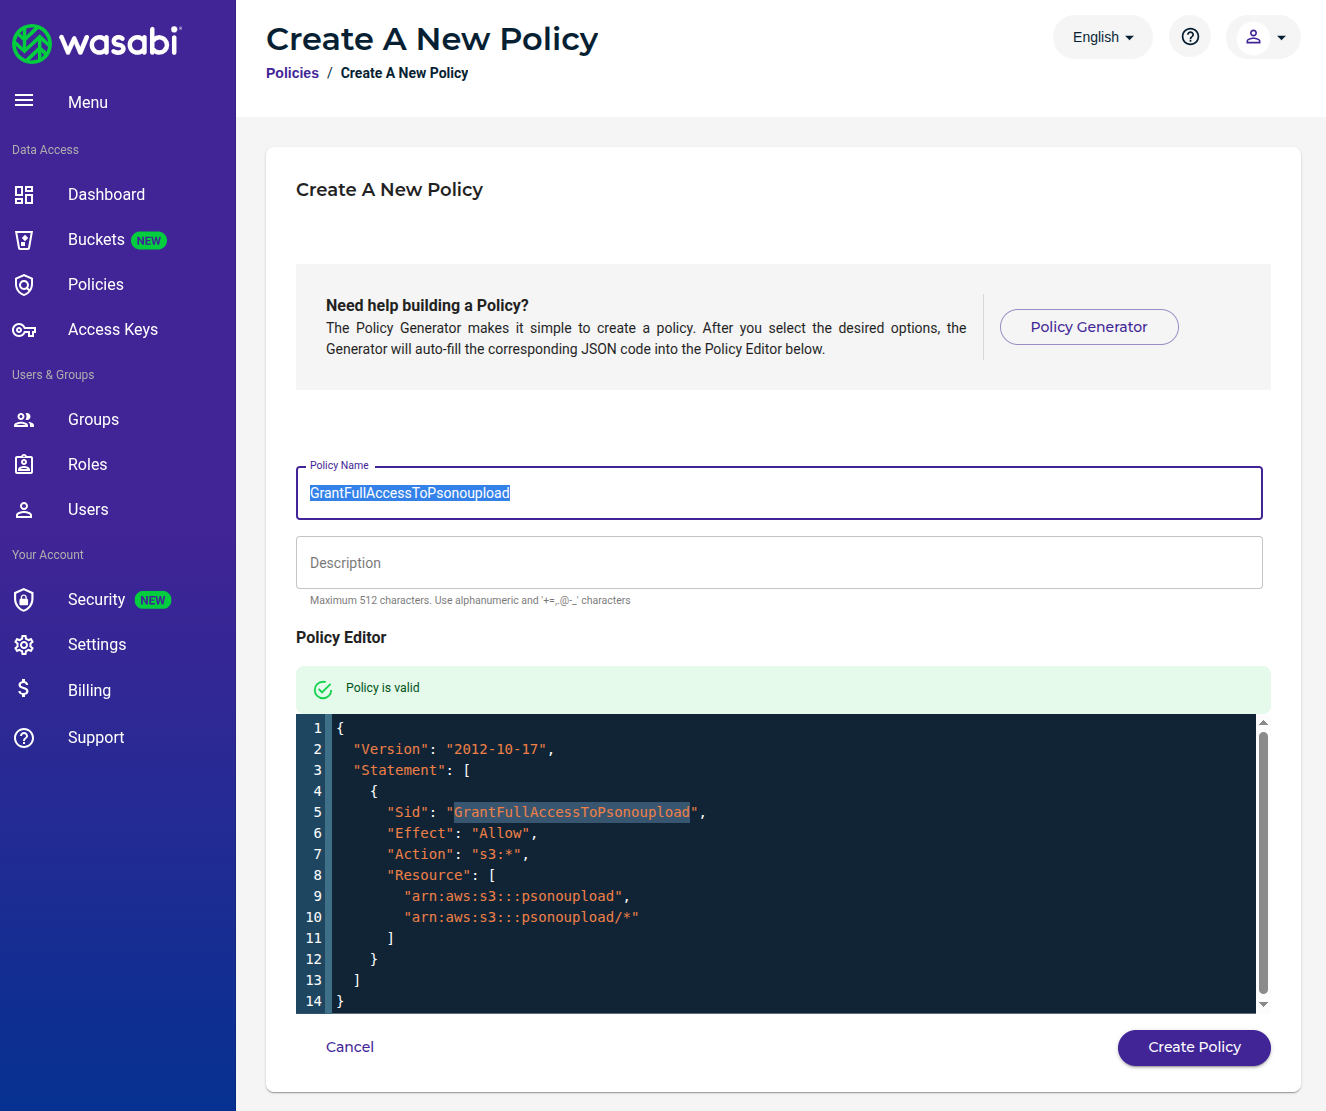
- Click "Create Policy"
# Create user
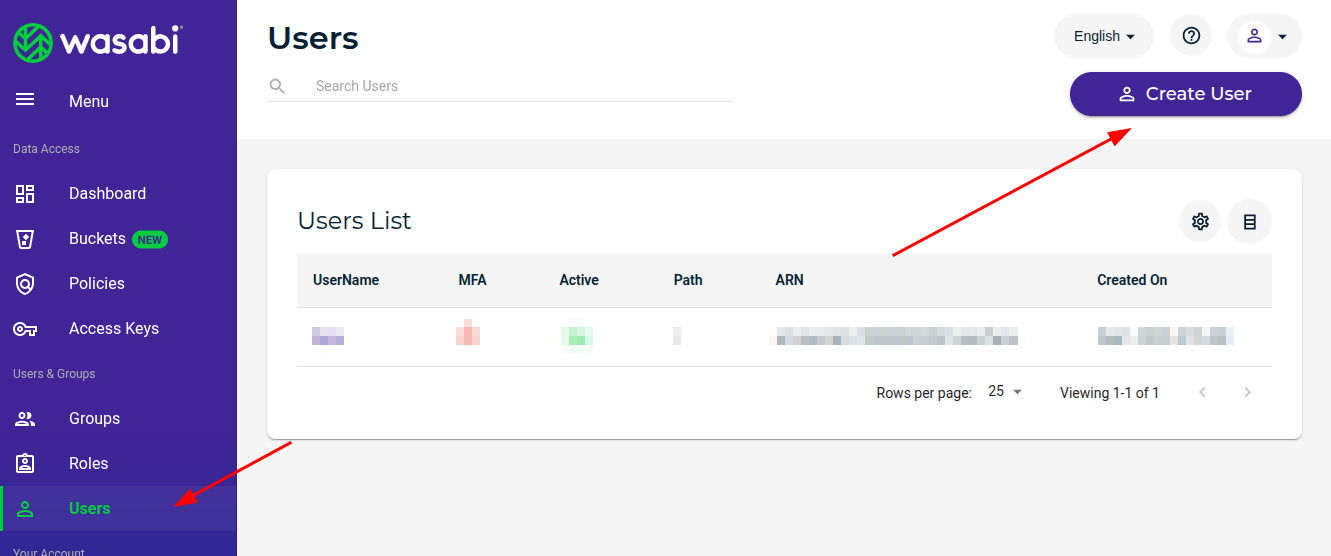
- Go to "Users" and click "Create User"
- Specify user details
Specify a name and allow "Programmatic (create API keys)". Then click "Next"

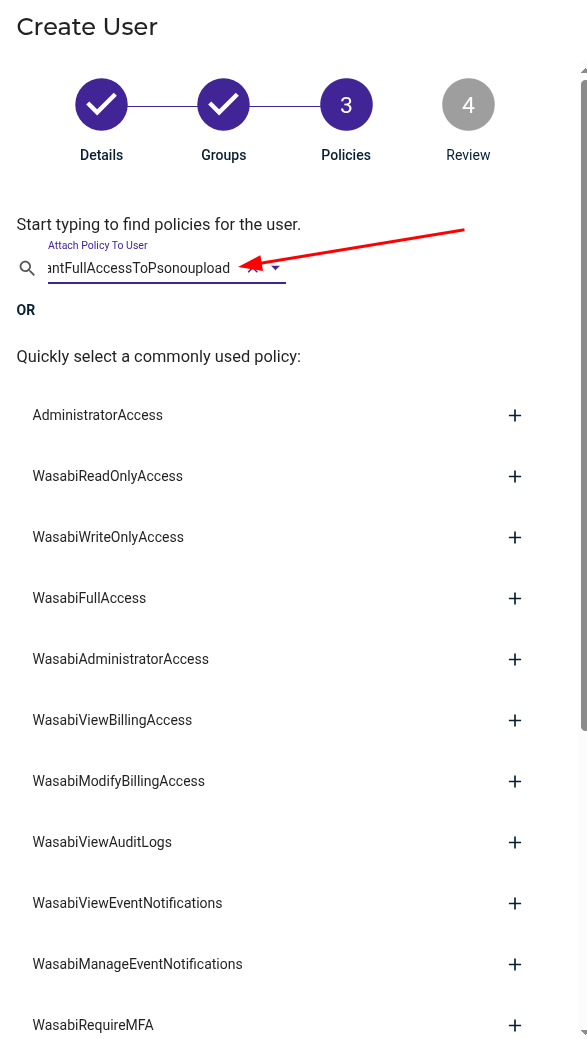
- Add policy to user
Search for the Policy that we did create previously and add it to the user.
- Review and create user

- Take note of API key
There should be now a screen showing you the API key that was created for that user. Write down the Access Key and the
Secret Key. (The easiest is to use the Copy Keys To Clipboard and paste it into Notepad)

# Configure the file repository
- Login to Psono

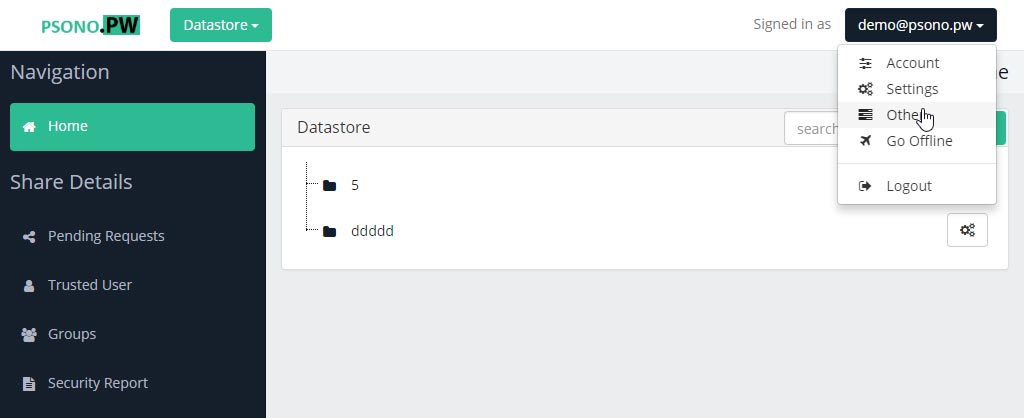
- Go to "Other"
- Go to "File Repositories" and click the + Symbol
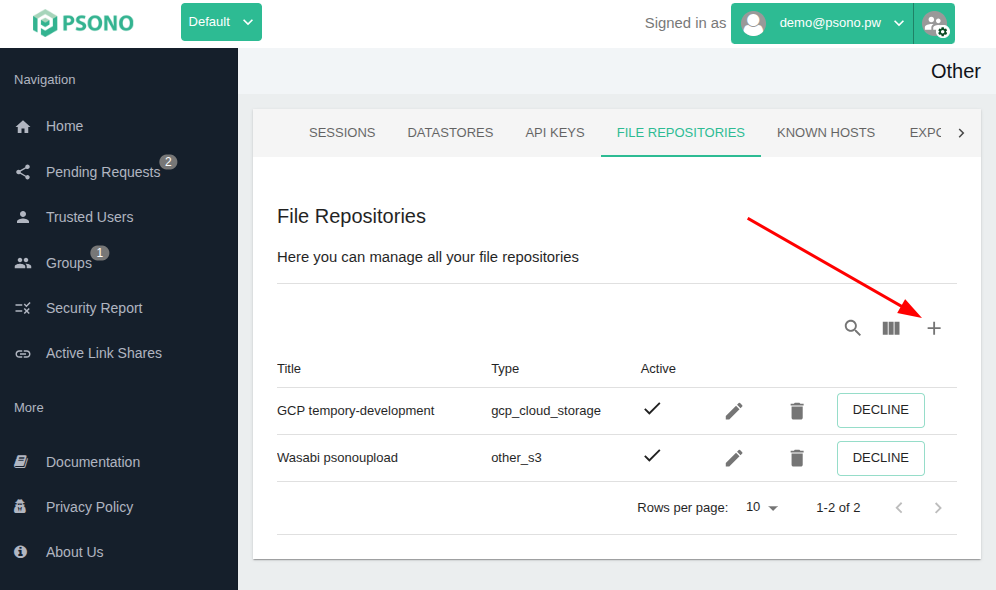
- Configure the file repository
Use any descriptive title, select "Other S3 compatible storage" as type, add your bucket's name, url, access key and secret.

You can now upload files from the datastore to this file repository.