# Setup Azure Blob Storage as file repository
Instructions how to setup a Azure Blob Storage container as file repository
# Pre-requirements
You need to have an Azure account. If not, you can register here azure.microsoft.com (opens new window) As a new customer Microsoft will provide you with 200 USD for the first 12 months and a lot of other benefits forever free, e.g. 5 GB of Blob Storage. More details can be found here: azure.microsoft.com/en-us/free/ (opens new window)
Further we assume that you have a resource group (if not create one as described here docs.microsoft.com/en-us/azure/azure-resource-manager/management/manage-resource-groups-portal (opens new window)) and a storage account (if not create one as described here docs.microsoft.com/en-us/azure/storage/common/storage-account-create?tabs=azure-portal (opens new window)).
# Setup Guide
This guide will walk you through the creation of a bucket, the configuration of the bucket and the creation of a service account, before it helps you to configure it in psono.
# Create container
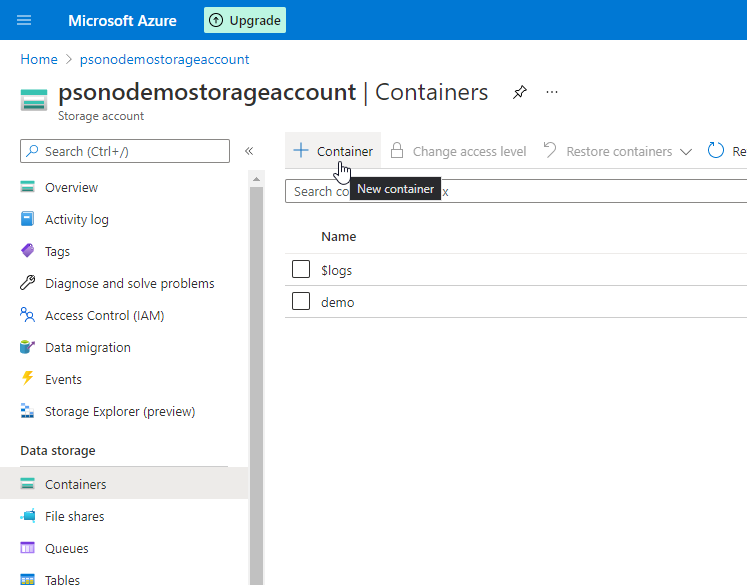
Select your storage account
Create container
On the left side select "Container" and then click the "+ Container".
- Name container
Name the container and click "Create"
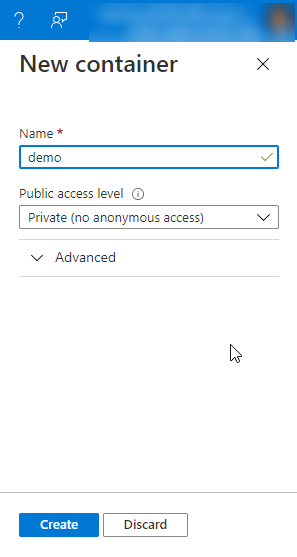
TIP
Remember the container name. You will need it later.
# Configure CORS
- Click at the left "Resource sharing (CORS)"
And configure CORS like:
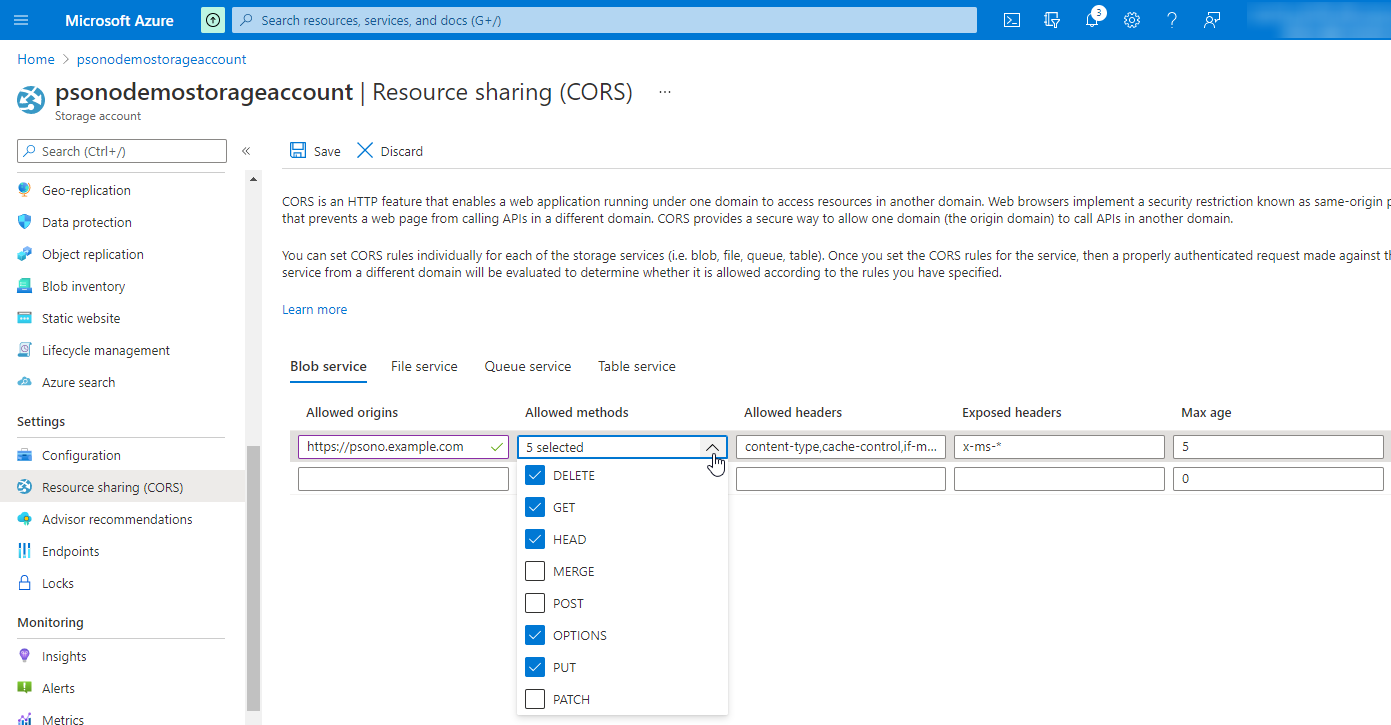
The configuration should look like this:
- Allowed origins: The url of your Psono instance
- Allowed methods: DELETE, GET, HEAD, OPTIONS, PUT
- Allowed headers: content-type,cache-control,if-modified-since,pragma,x-ms-*
- Exposed headers: x-ms-*
- Max Age: 5 (for testing purposes, you can increase it later)
# Grab access key
- Go to "Access keys"
In the menu on the left click on "Access keys".
- Click "Show keys"

TIP
Take a note of the key of key1 (primary key) and the storage account name, you will need it later.
# Configure the file repository
- Login to Psono

- Go to "Other"
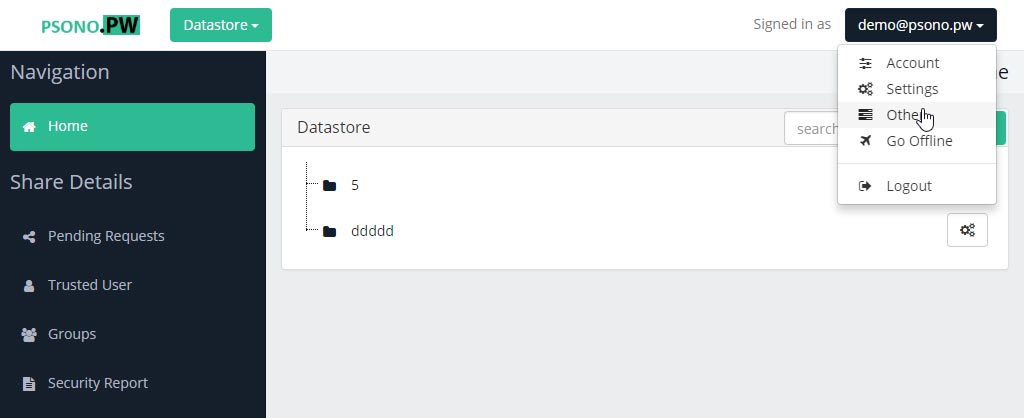
- Go to "File Repositories" and click the + Symbol
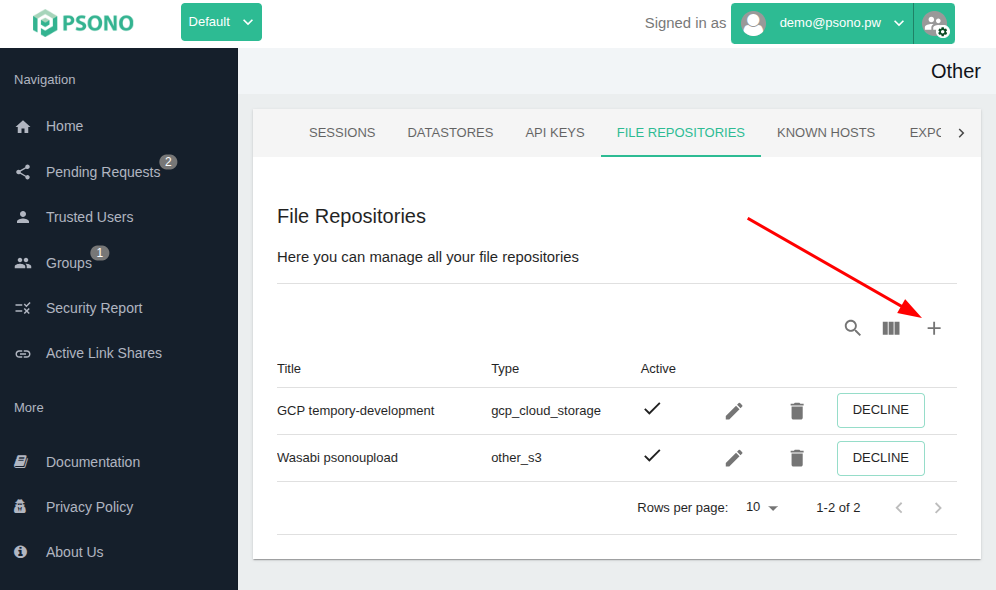
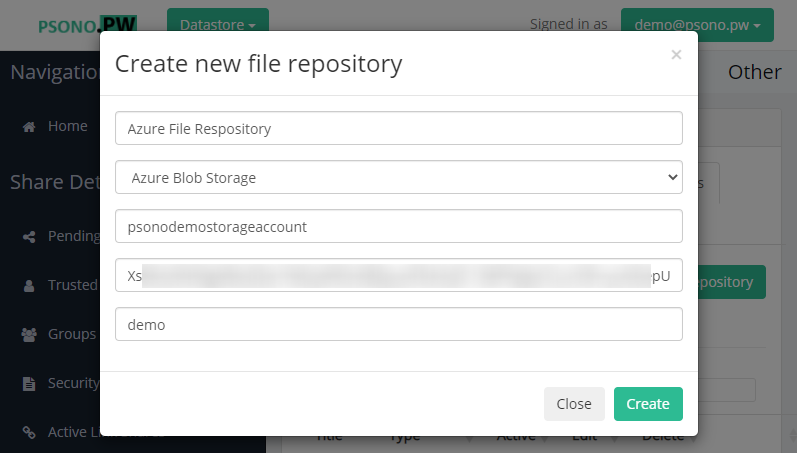
- Configure the file repository
Use any descriptive title, select Azure Blob Storage as type, add your account name, primary key and container name.
You can now upload files from the datastore to this file repository.