# Sharing secrets (Shares)
This section will explain how to share a particular entry (secret or folder) with other users. There are multiple ways to share an entry (secret or folder), depending if the other user has an account or not
# With another Psono user
This method describes how to share entries with other users that have a Psono account.
Initiate the sharing
If the other user has a Psono account too, then you can share an entry either "right click"-ing the entry or by clicking on the three gears button of the entry. Click on
Share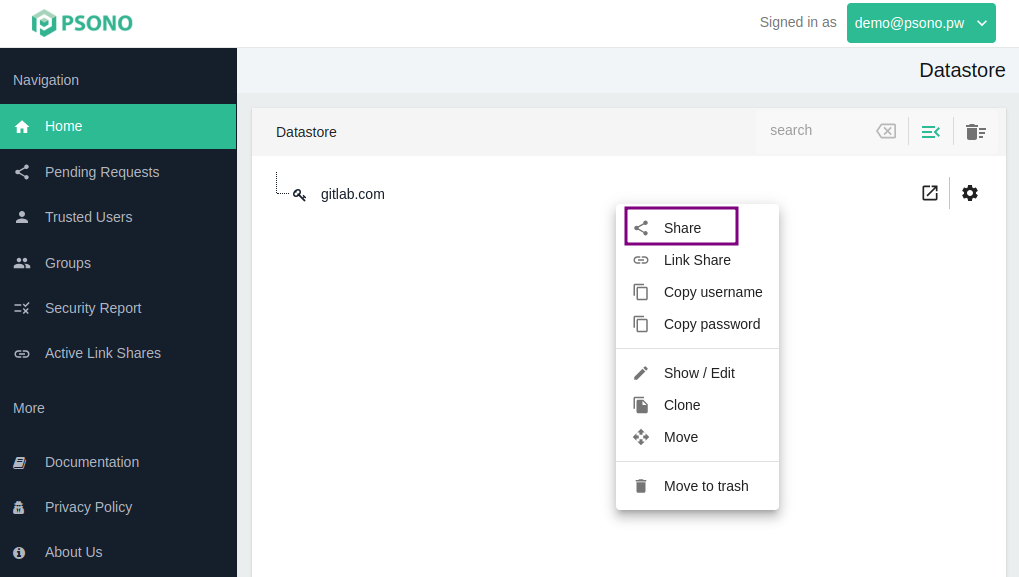
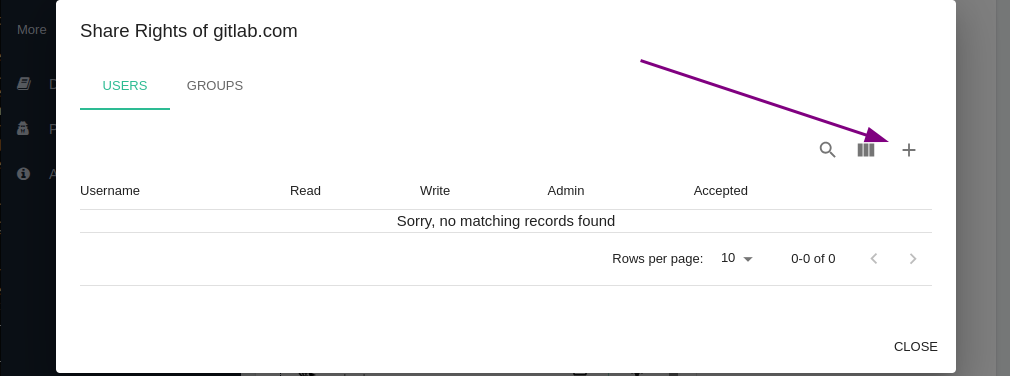
Add new user
Click on the plus symbol to add a new user.
Search user
Use the username or email field to search the user that you want to share the entry with
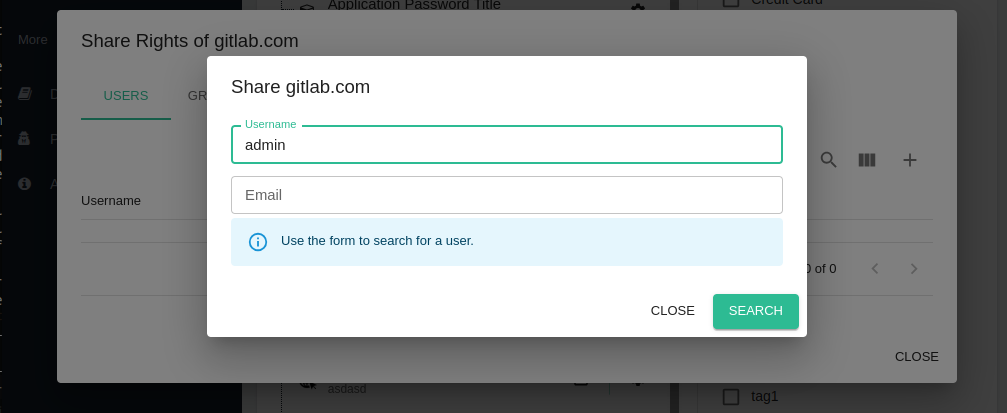
TIP
Your form may look different depending on the configuration of the server.
Select the appropriate permissions
Check the appropriate permissions and compare the Public Key with the Public Key that the user did tell you.
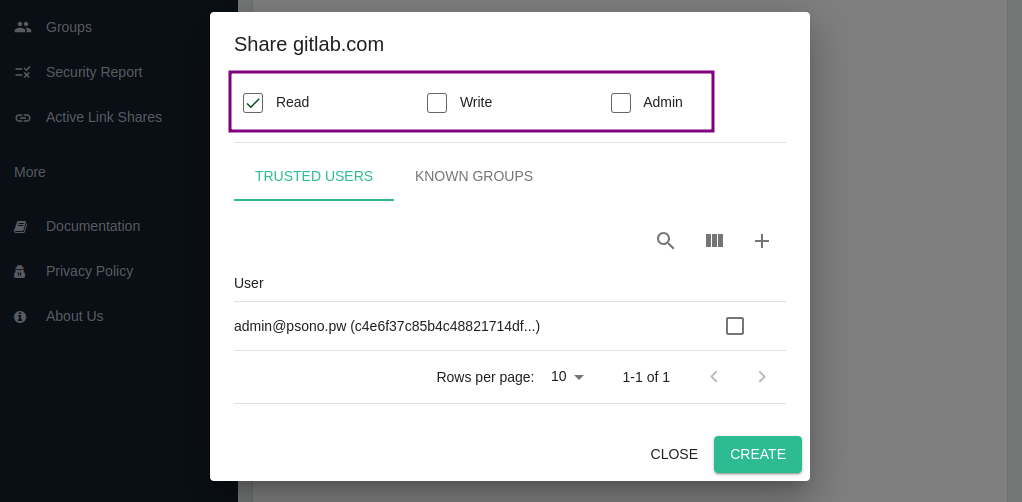
- Read: Allows a user to read the content of a share
- Write: Allows a user to modify the content of a share
- Grant: Allows the user to modify the access permissions (including his own) and share it with other users / groups.
WARNING
Make sure that you ask the user on a secure channel whether this is his real Public Key to make sure that you share the entry with the right person.
Finally create the share
Finish the process by clicking
Createat the bottom.You will notice that the icon of the entry has changed and this little green mark appeared. This indicates that the entry does not live anymore directly in your datastore and instead in a so called "share object" that may be shared with others and has own share permissions.

TIP
We recommend to share folders instead of secrets, as they allow other people to receive new secrets and subfolders without having to accept them one by one. In addition it makes audits easier. Further we recommend to share entries based on groups instead of single users. E.g. so all people in the marketing department have access to a particular entry and not just user XY.
# With a group
This method describes how to share entries with a group of users.
Initiate the sharing
You can share an entry either "right click"-ing the entry or by clicking on the three gears button of the entry. Click on
ShareSelect Groups tab
Click on the
Groupstab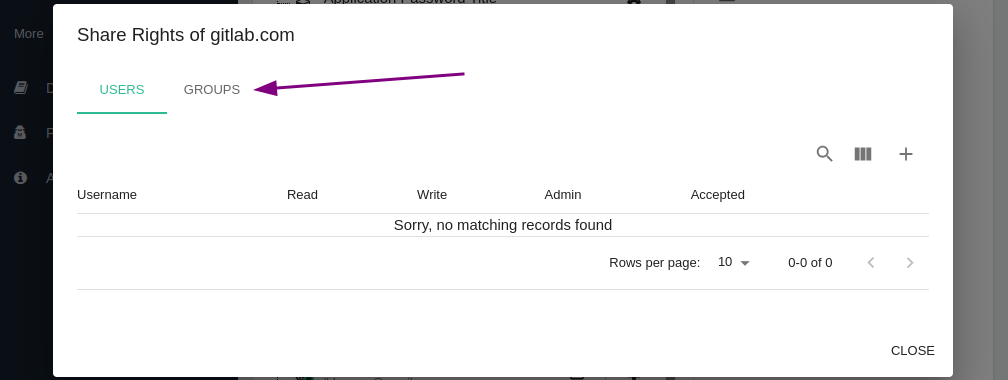
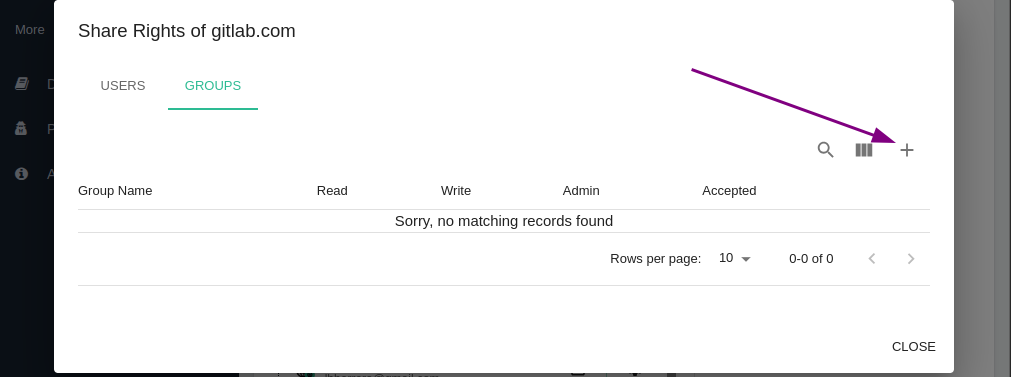
Add new group
Click on the plus symbol to add a new group.
Select the appropriate permissions and group
Check the appropriate permissions and the group.
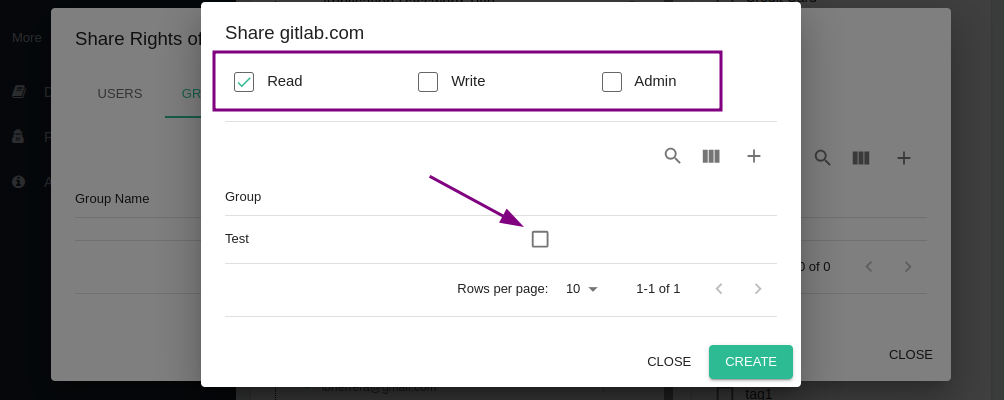
- Read: Allows a user to read the content of a share
- Write: Allows a user to modify the content of a share
- Grant: Allows the user to modify the access permissions (including his own) and share it with other users / groups.
TIP
If you don't have a group yet, you can use the little plus icon to create a new group.
If you don't see a group here that you for sure are a member of, then you most probably don't have
share adminprivileges for the group.Only groups that you are a member of will appear here. If you want to share it with a group that you are not a member of, you will have to share it with an individual user who is a member of the group, who then can share it with the group.
Finally create the share
Finish the process by clicking
Createat the bottom.You will notice that the icon of the entry has changed and this little green mark appeared. This indicates that the entry does not live anymore directly in your datastore and instead in a so called "share object" that may be shared with others and has own share permissions.
TIP
We recommend to share folders instead of secrets, as they allow other people to receive new secrets and subfolders without having to accept them one by one. In addition it makes audits easier. Further we recommend to share entries based on groups instead of single users. E.g. so all people in the marketing department have access to a particular entry and not just user XY.
# With externals (Link Shares)
This method describes how to share entries with external parties, that don't have a Psono account yet can (network, firewall wise) reach the Psono server. It tries to solve the problem of sharing secrets securely without them ending up in emails or chats.
Initiate a link share
You start the process by a right click on the entry or by clicking on the three gears button next to the entry and then clicking on
Link Share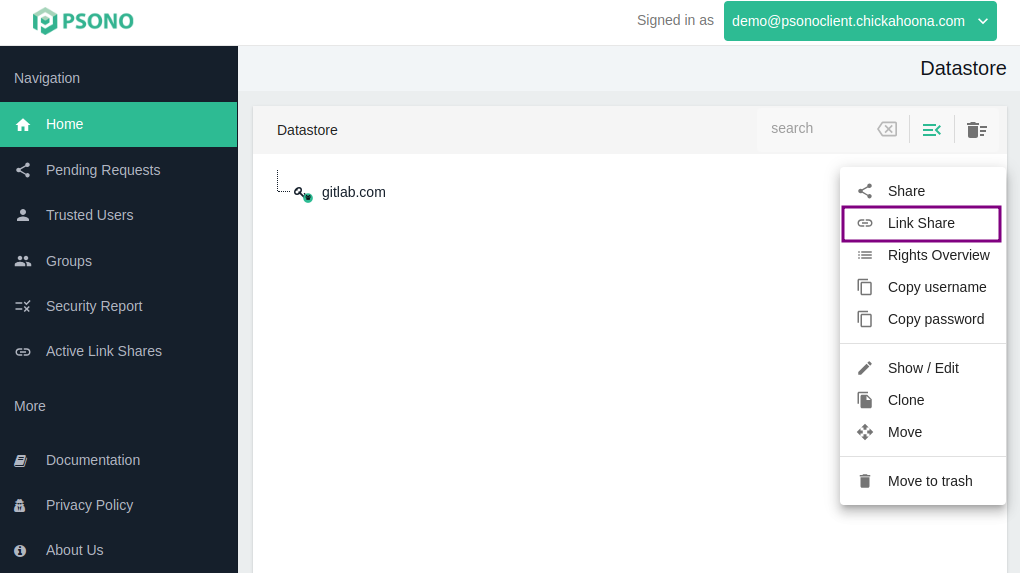
Specify link share details
You can now specify a public title shown to the user, the amount how often the link can be used, a time until the link expires or a passphrase that needs to be typed in in addition to access the link share.
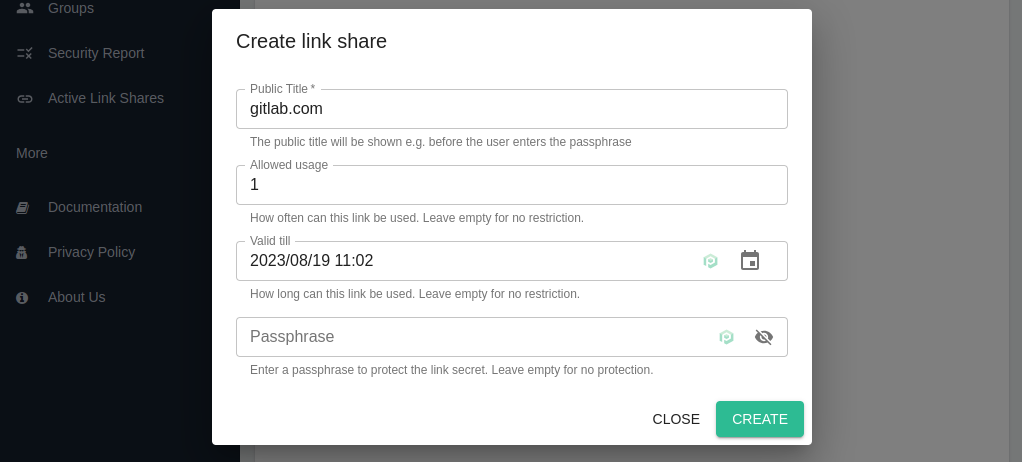
Once you are happy with the settings, confirm the dialog with
OK.Copy link
You will see now a link that you can copy and share with others.
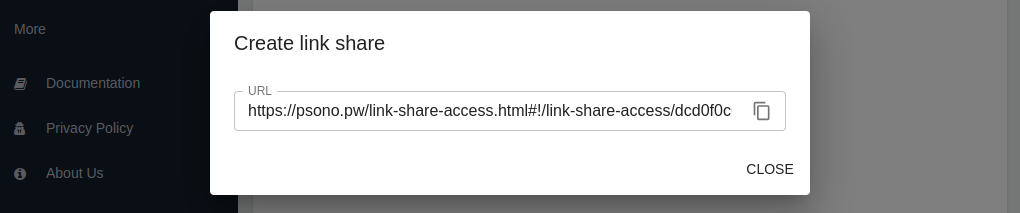
You can distribute the link by mail or chat and will be sure that the link expires or can only be used maybe once, so everyone who might gain access to your emails or chat logs later will not have access to the secret.