# Setup GCS as file repository
Instructions how to setup a Google Cloud Storage bucket as file repository
# Pre-requirements
You need to have an Google Cloud Platform account. If not, you can register here cloud.google.com (opens new window) As a new customer Google will provide you with 300 USD for the first 12 months and a lot of other benefits forever free, e.g. 5 GB of Google Cloud Storage. More details can be found here: cloud.google.com/free/ (opens new window)
# Setup Guide
This guide will walk you through the creation of a bucket, the configuration of the bucket and the creation of a service account, before it helps you to configure it in psono.
# Create bucket
Login to cloud.google.com
Create a project at the top
Go to Storage -> Browser
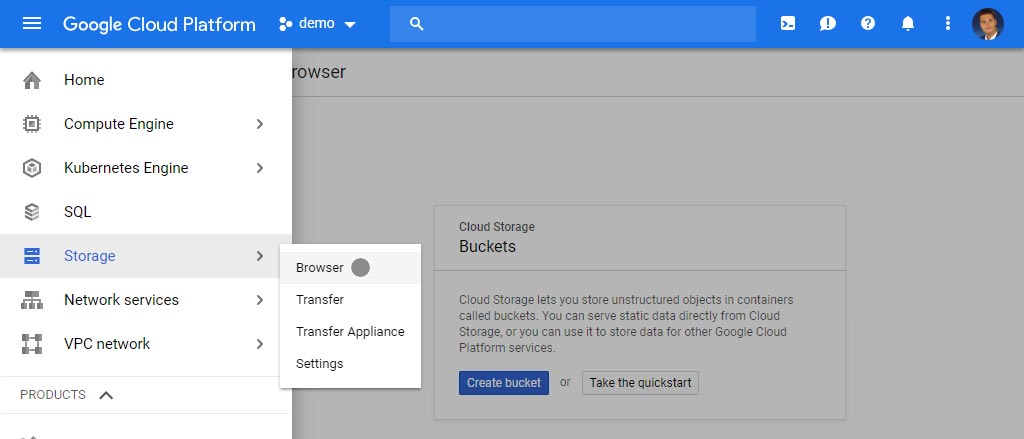
- Click "Create bucket"
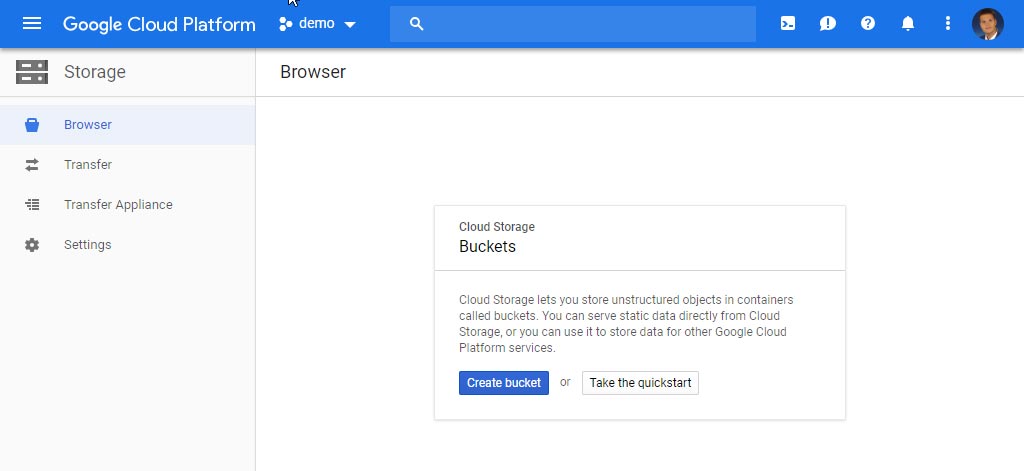
- Click "Setup bucket"
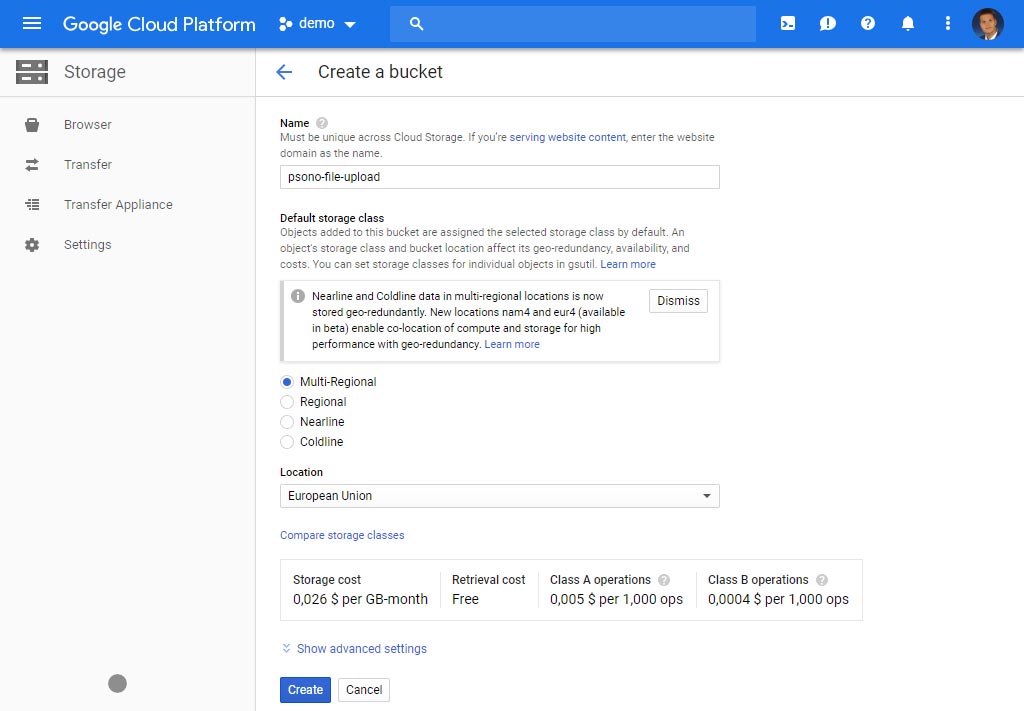
Specify a name, a region and click "Create".
TIP
Remember the name that you specified as you will need it later.
TIP
Remember the bucket name. You will need it later.
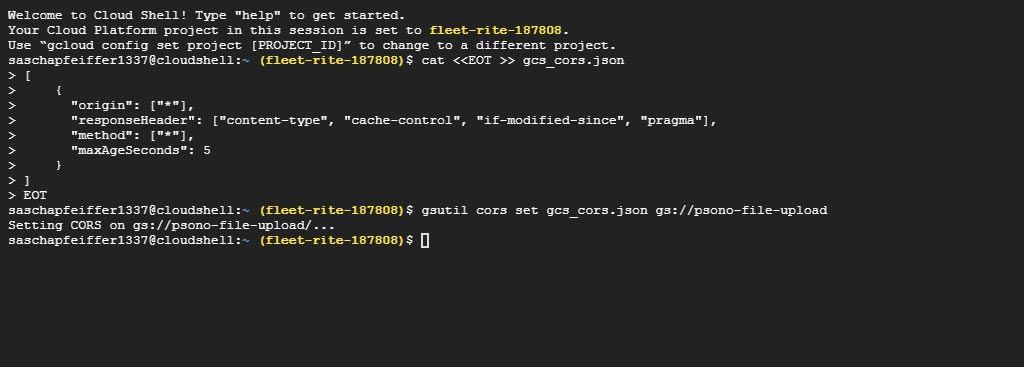
# Configure CORS
- Click at the top to open a "Cloud Shell"
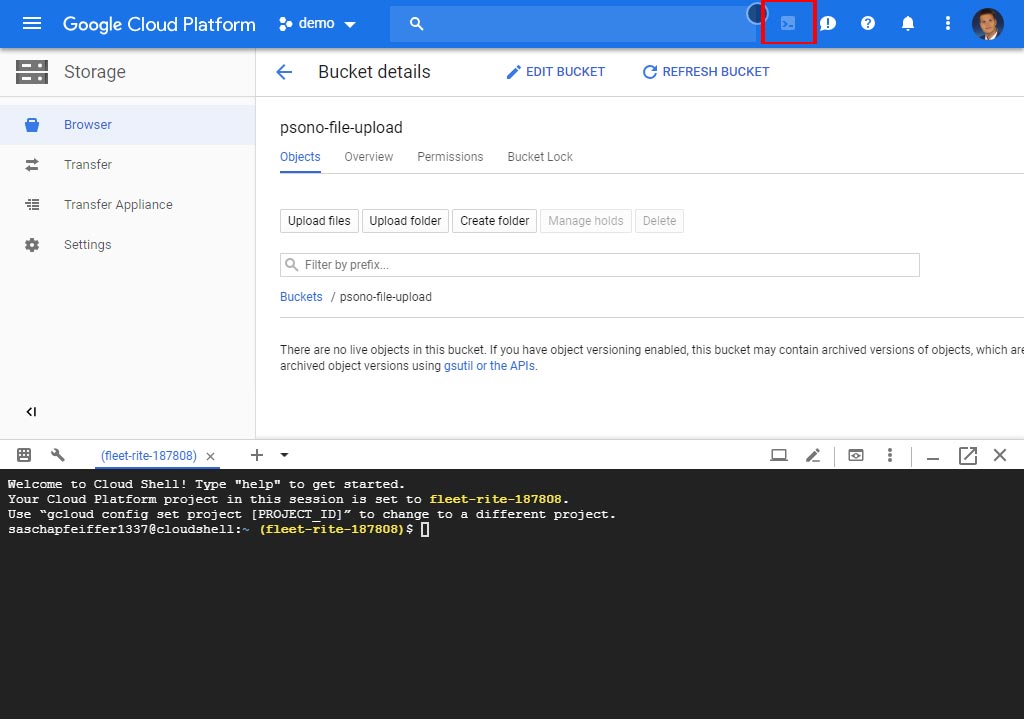
- Copy & paste the following two commands
cat <<EOT >> gcs_cors.json
[
    {
      "origin": ["*"],
      "responseHeader": ["content-type", "cache-control", "if-modified-since", "pragma"],
      "method": ["*"],
      "maxAgeSeconds": 5
    }
]
EOT

gsutil cors set gcs_cors.json gs://psono-file-upload
TIP
Replace 'psono-file-upload' with your bucket name.
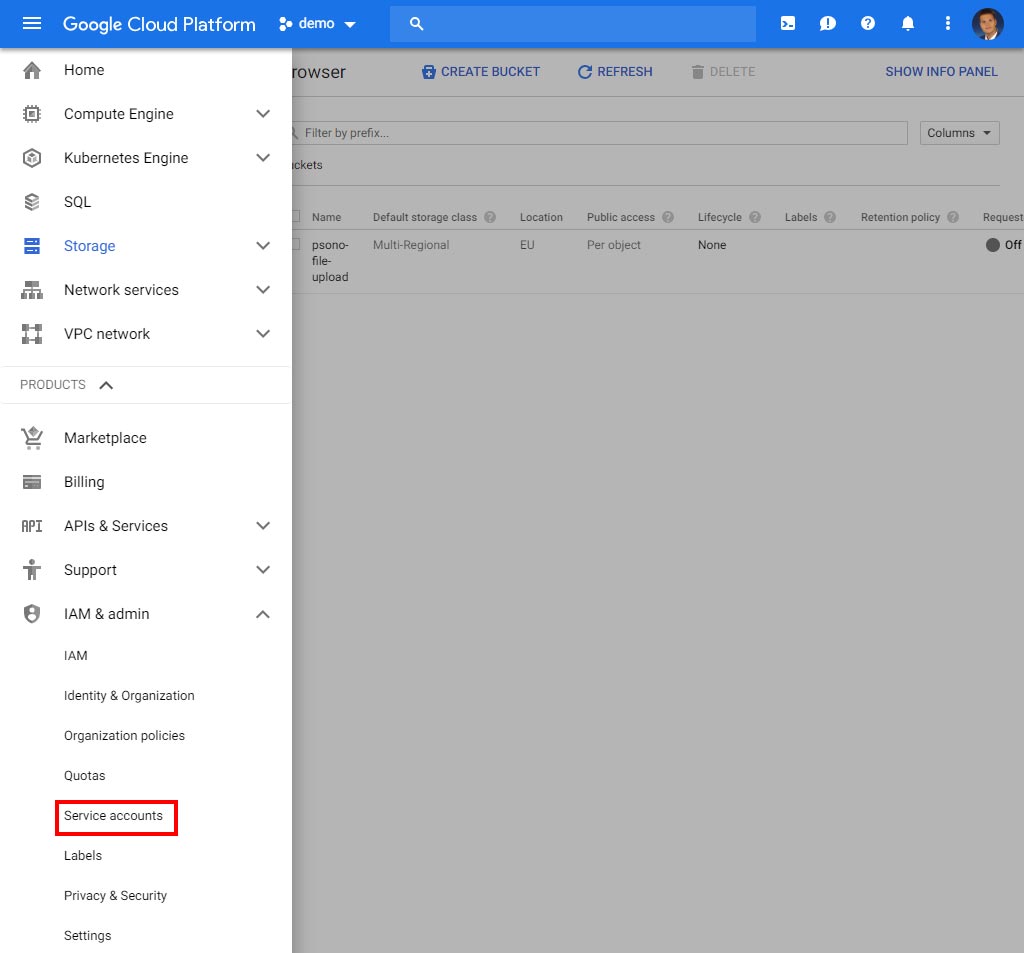
# Create service account
- Go to IAM & admin > Service accounts
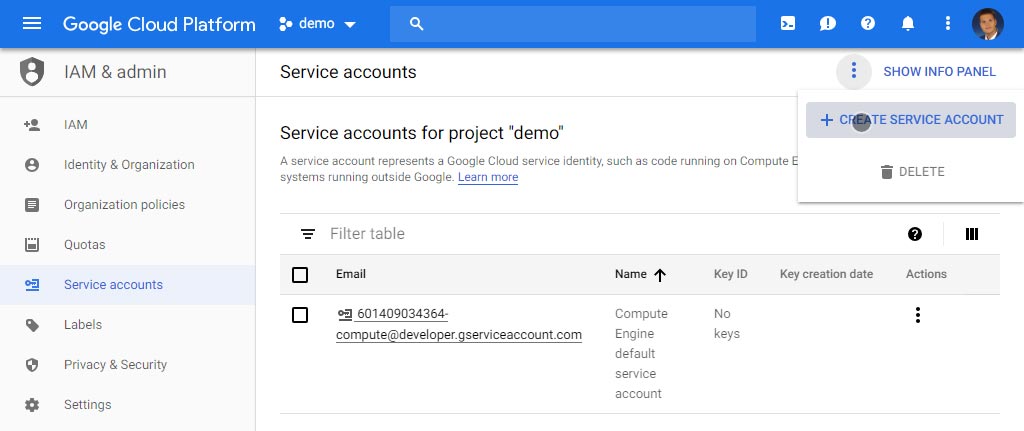
- Click "Create service account"
- Specify the service account name
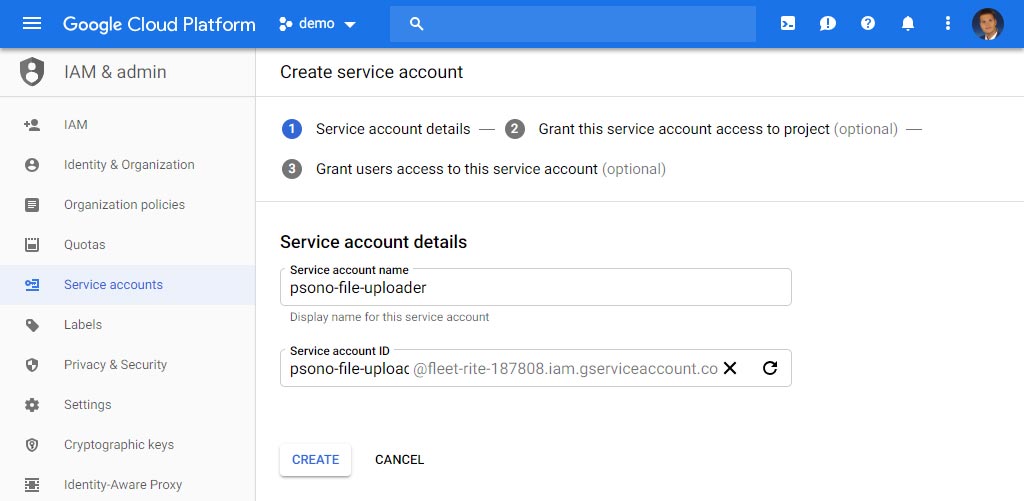
- Configure the role and grant "Storage Object Admin"
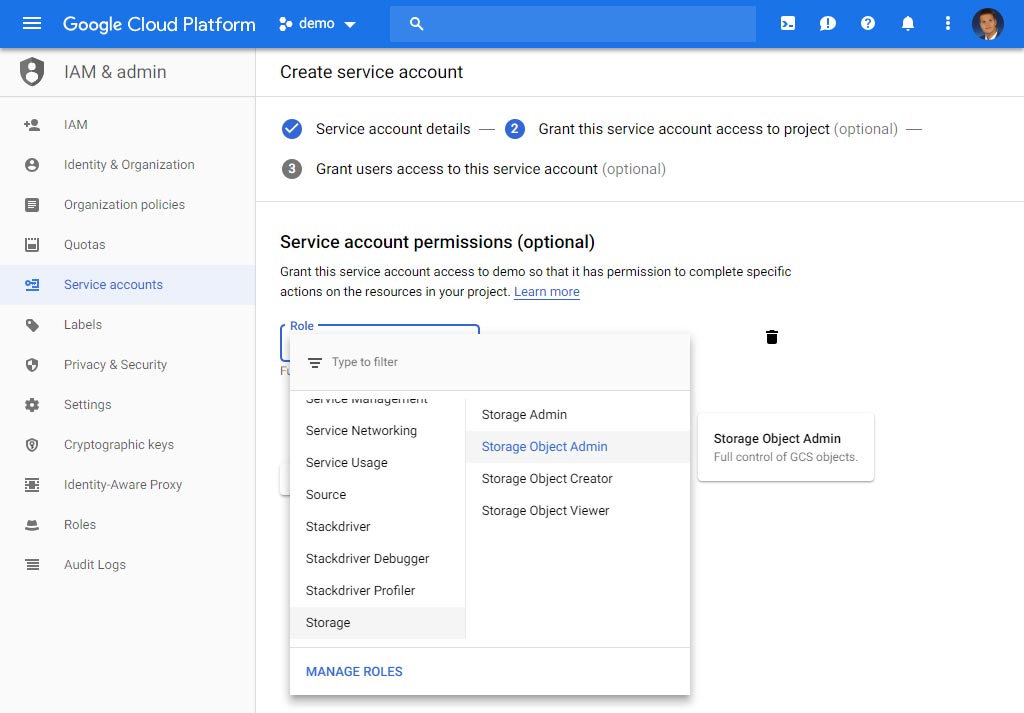
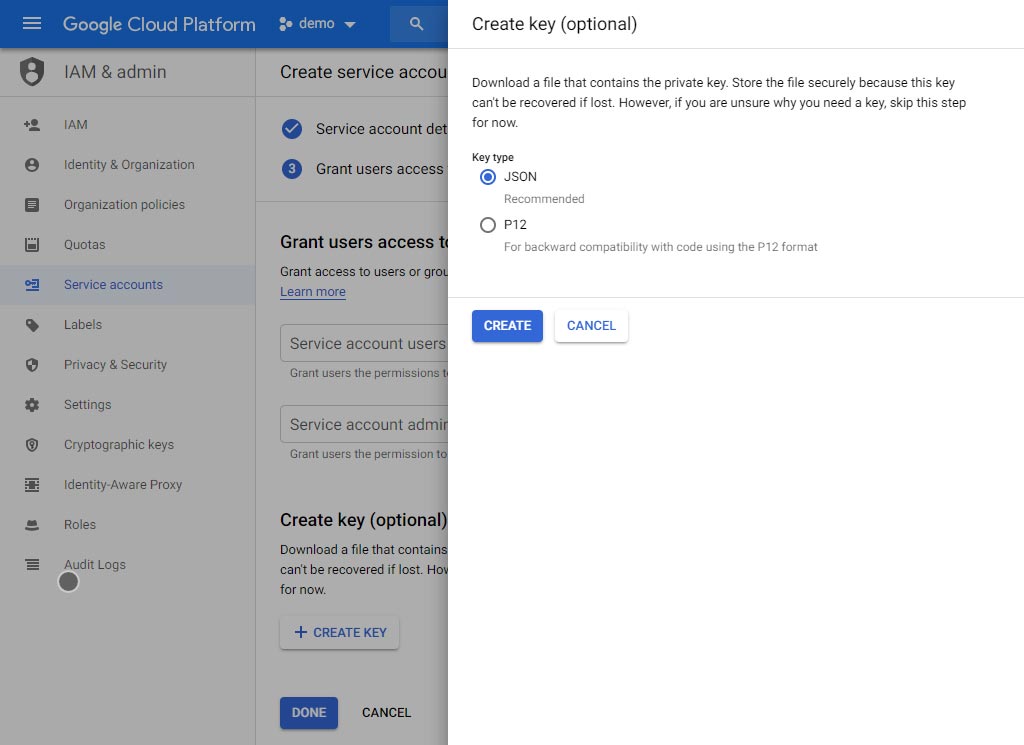
- Click "Create Key" and select JSON
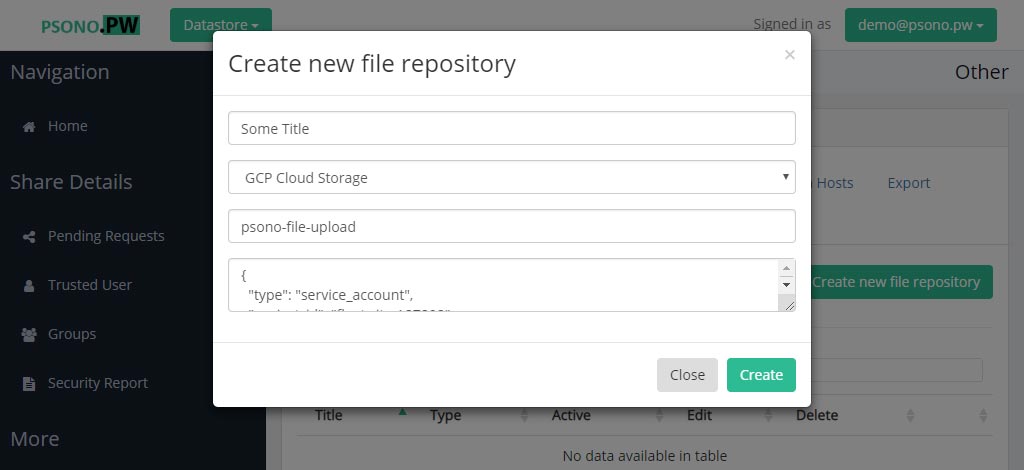
# Configure the file repository
- Login to Psono

- Go to "Other"
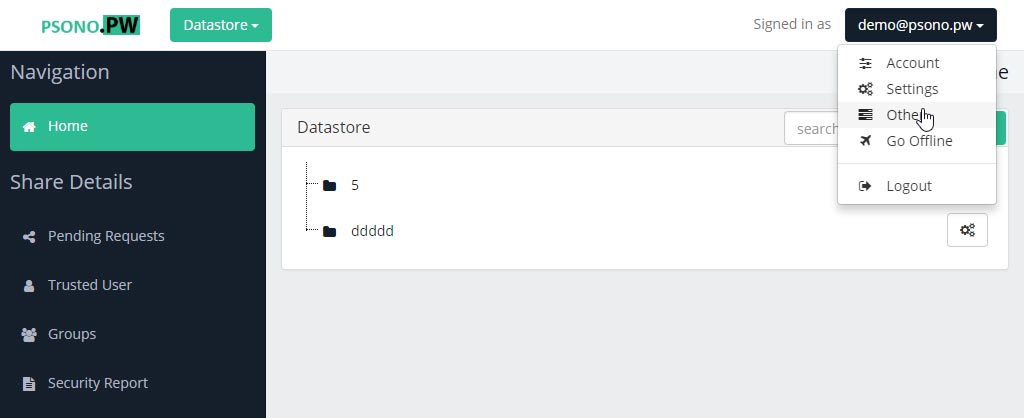
- Go to "File Repositories" and click the + Symbol
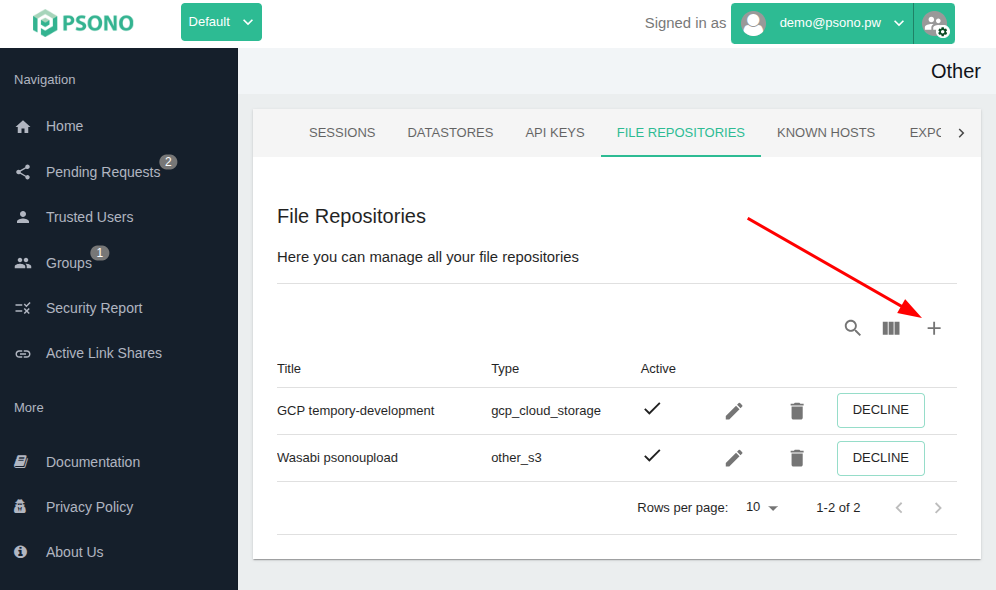
- Configure the file repository
Use any descriptive title, select GCP Cloud Storage as type, add your buckets name and copy paste the content of the JSON Key.
You can now upload files from the datastore to this file repository.