# Setup Digital Ocean Spaces S3 as file repository
Instructions how to setup a Digital Ocean Spaces bucket as file repository
# Pre-requirements
You need to have a Digital Ocean account. If not, you can register here cloud.digitalocean.com (opens new window)
# Setup Guide
This guide will walk you through the creation of a bucket, the configuration of the bucket and the creation of a service account, before it helps you to configure it in psono.
# Create bucket
Login to cloud.digitalocean.com
At the top right click "Create Spaces"
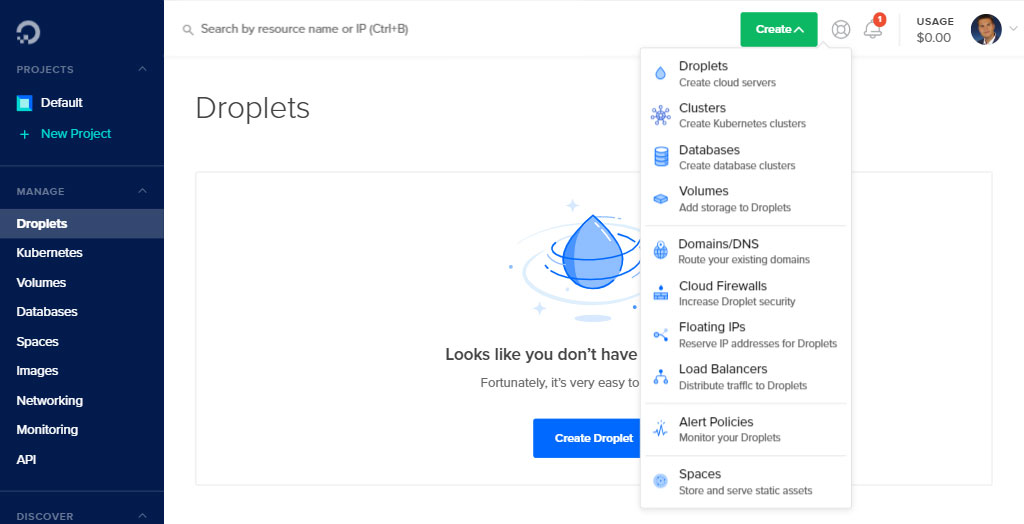
- Specify space information and click "Create a Space"

TIP
Remember the name of the space. You will need it later.
# Configure CORS
- Click on your bucket and go to "Settings"
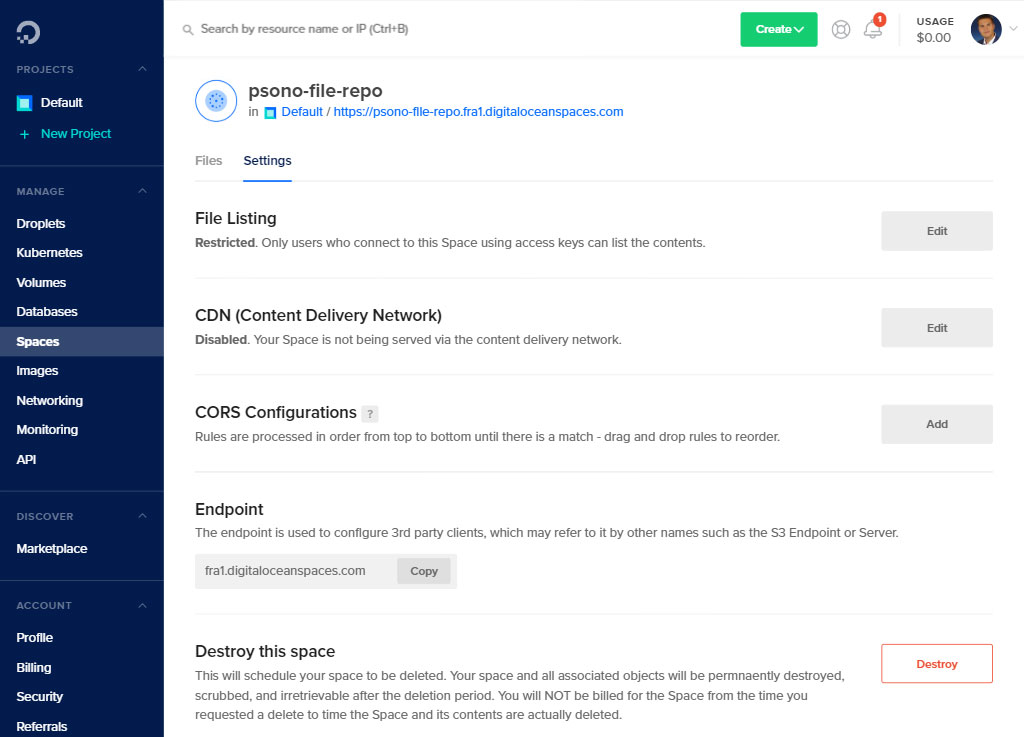
TIP
Remember the region of the space. It is part of the url at the top. In the screenshot it is 'fra1'. You will need it later.
- In "CORS Configurations" click "Add"
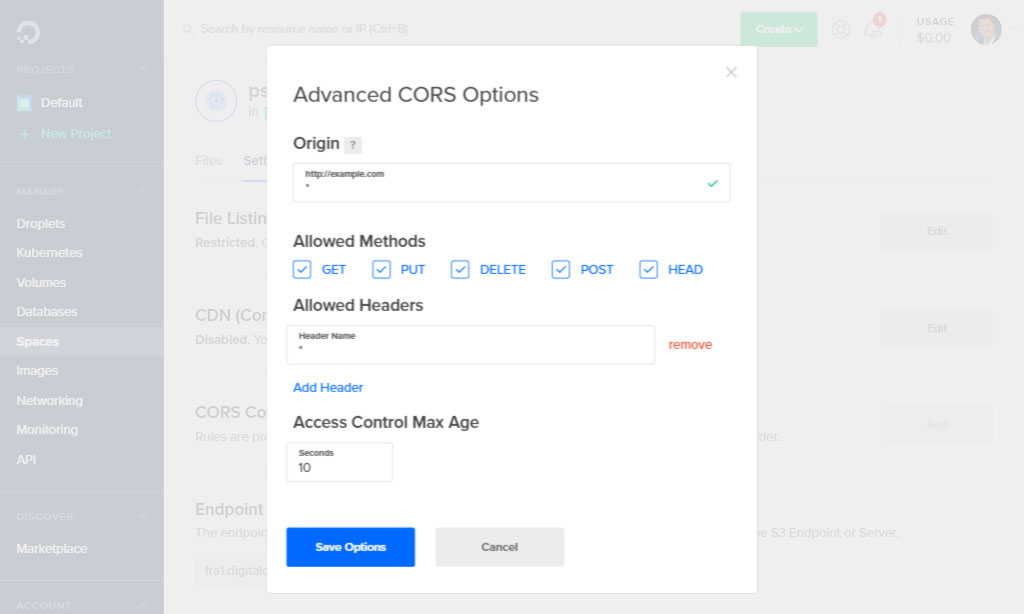
and adjust the setting as shown in the screenshot
- Click "Save Options"
# Create access key
- Go to API and click "Generate New Key"
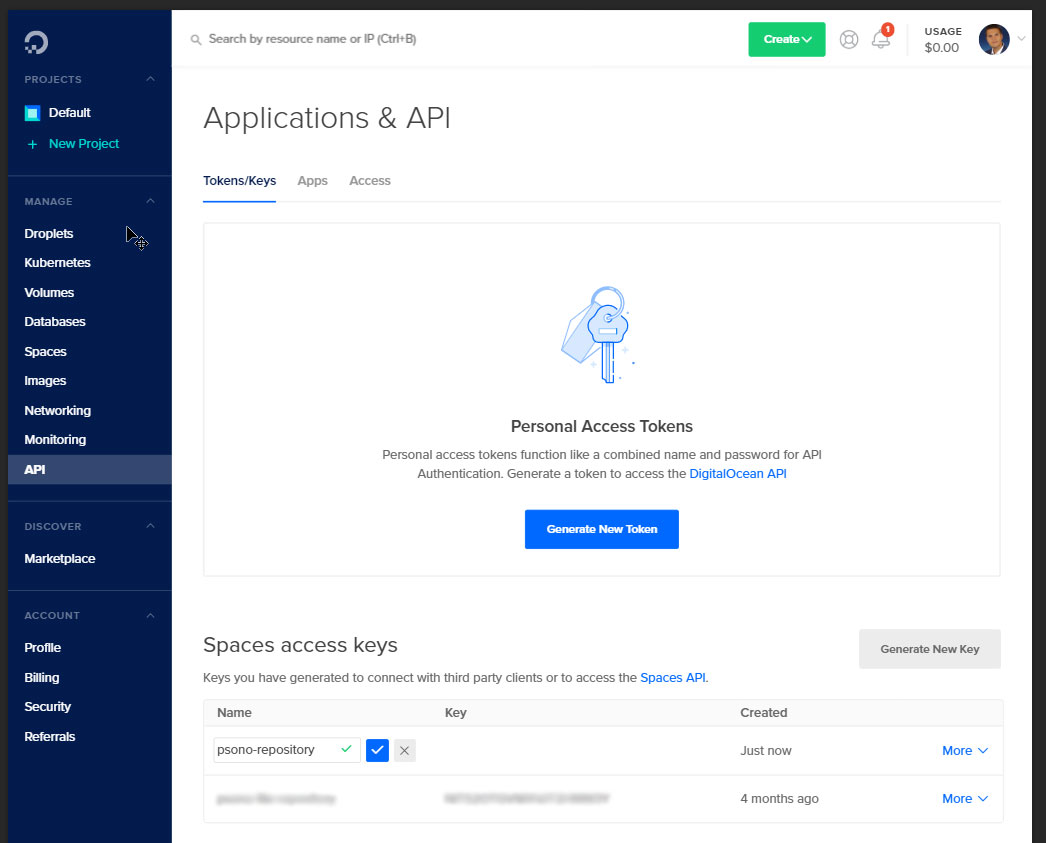
TIP
Copy the shown Key and Secret. You will need them later.
# Configure the file repository
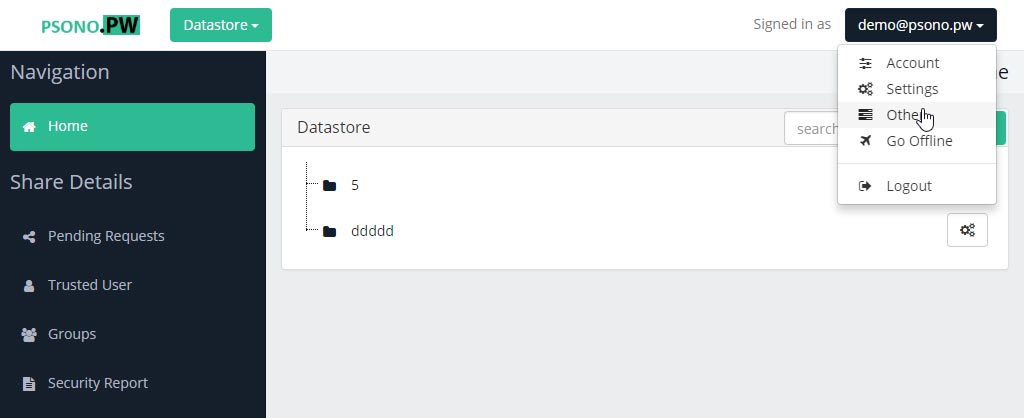
- Login to Psono

- Go to "Other"
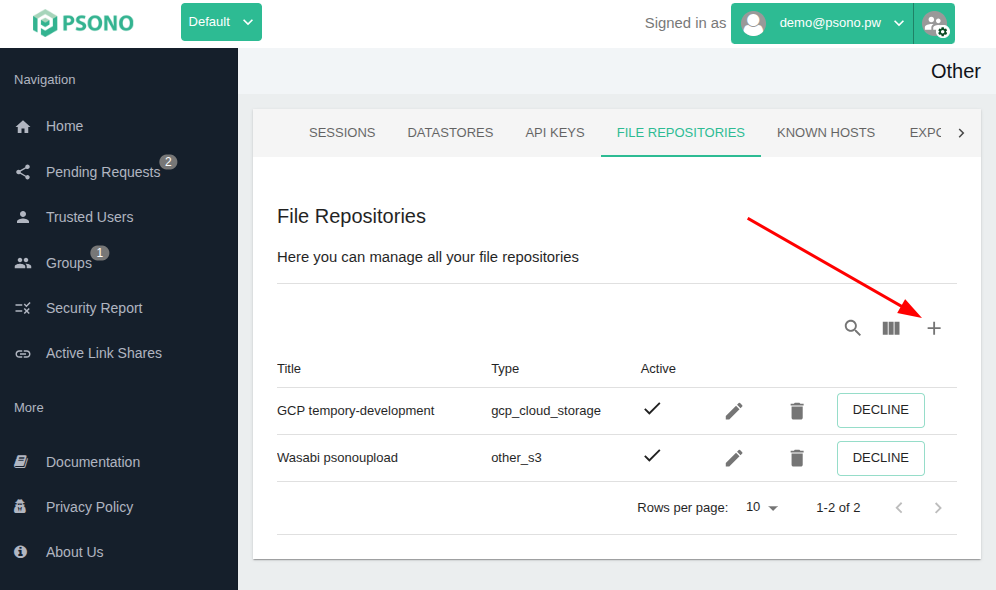
- Go to "File Repositories" and click the + Symbol
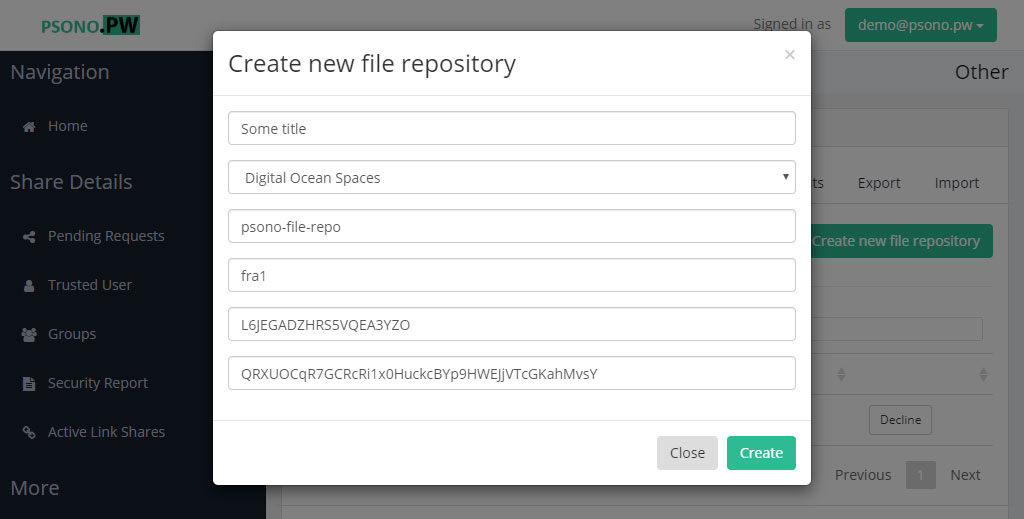
- Configure the file repository
Use any descriptive title, select Digital Ocean Spaces as type, add your bucket's name, access key and secret.
You can now upload files from the datastore to this file repository.