# Setup AWS S3 as file repository
Instructions how to setup an AWS S3 bucket as file repository
# Pre-requirements
You need to have an AWS account. If not, you can register here aws.amazon.com (opens new window) As a new customer AWS will provide you with a lot of benefits, including 5 GB of free cloud storage in the first 12 months that you can use together with Psono. More details can be found here: aws.amazon.com/free/ (opens new window)
# Setup Guide
This guide will walk you through the creation of a bucket, the configuration of the bucket and the creation of a service account, before it helps you to configure it in psono.
# Create bucket
Login to aws.amazon.com
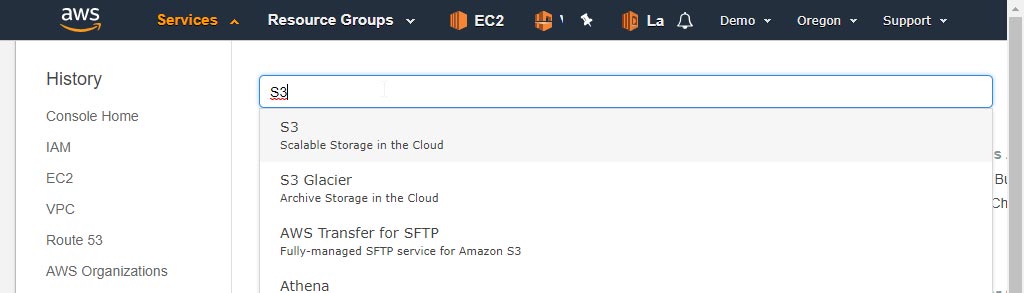
Go to S3
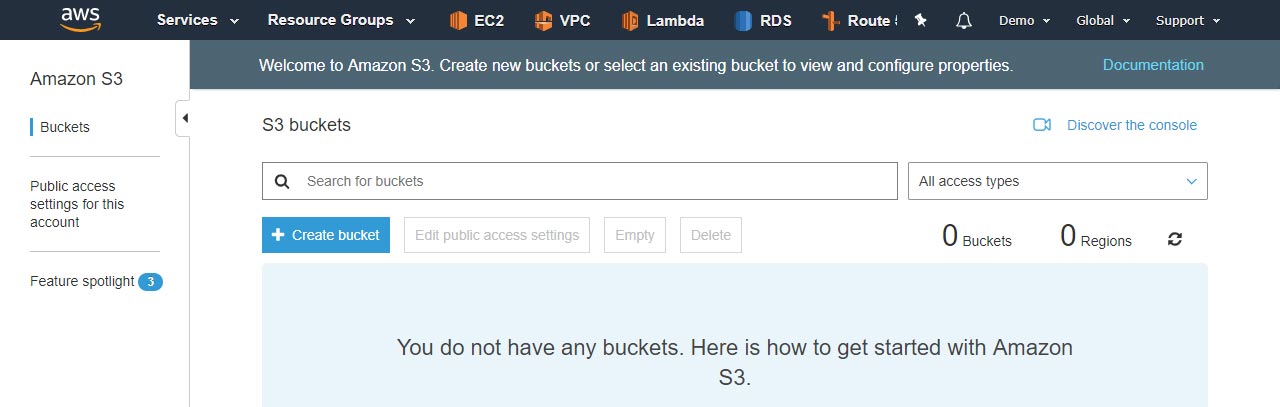
- Click "Create bucket"
- Specify bucket information and click "Create"
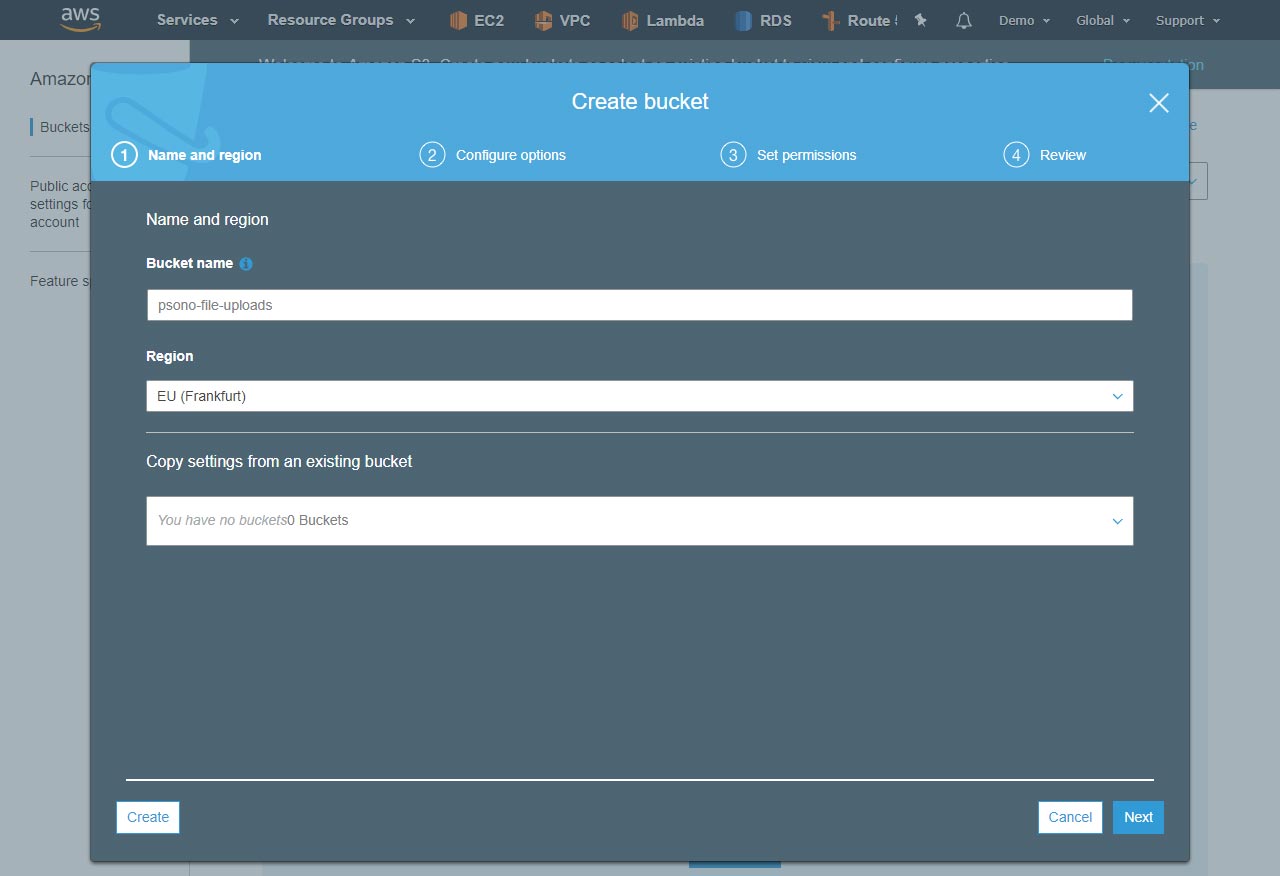
TIP
Remember the bucket name. You will need it later.
# Configure CORS
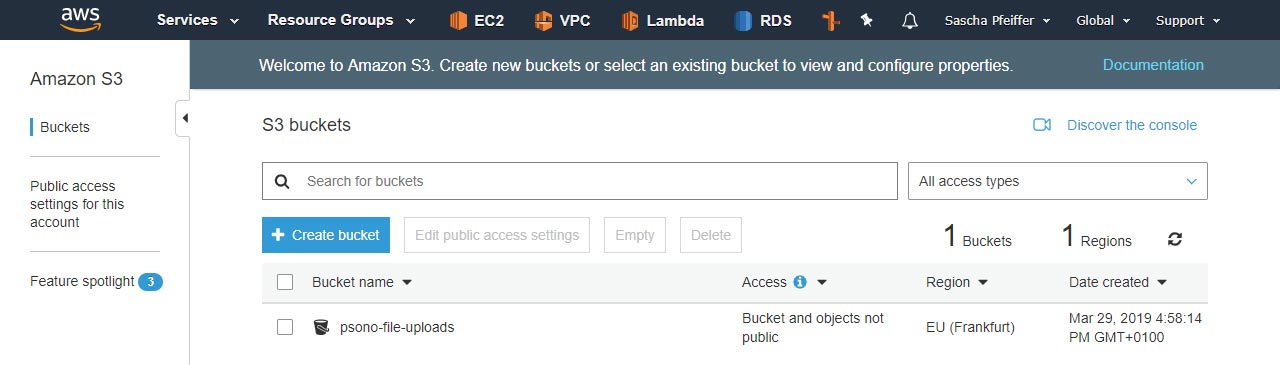
- Click on your bucket
- Go to "Permissions" > "CORS configuration"
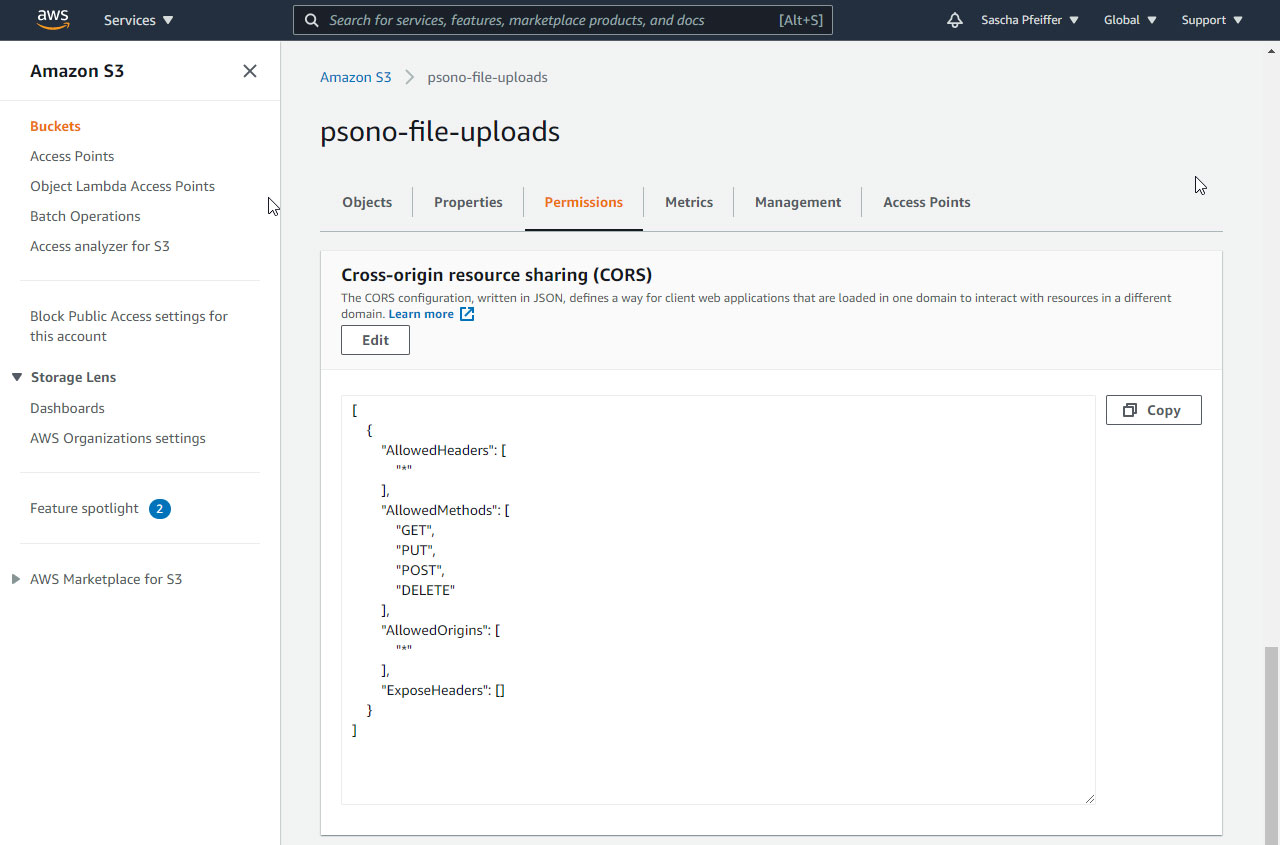
and paste the following config:
[
    {
        "AllowedHeaders": [
            "*"
        ],
        "AllowedMethods": [
            "GET",
            "PUT",
            "POST",
            "DELETE"
        ],
        "AllowedOrigins": [
            "*"
        ],
        "ExposeHeaders": []
    }
]
- Click "Save"
# Create a policy
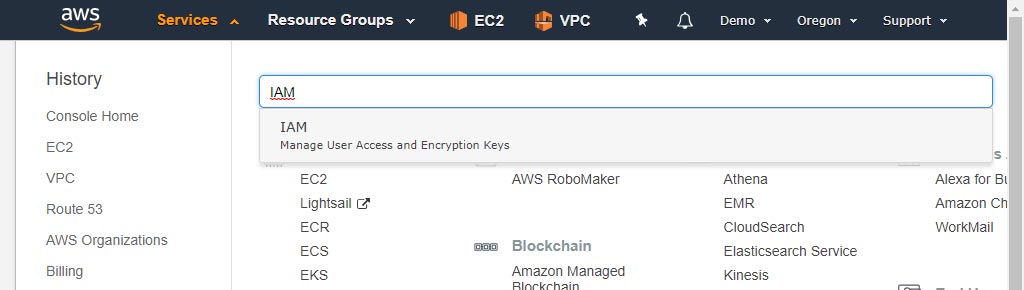
- Go to IAM
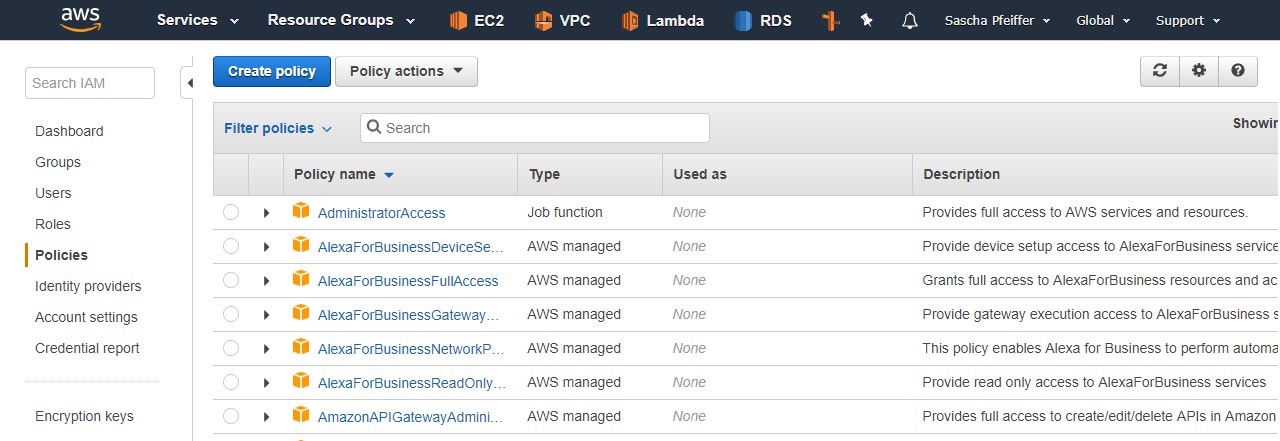
- Go to Policies and click "Create Policy"
- Select JSON
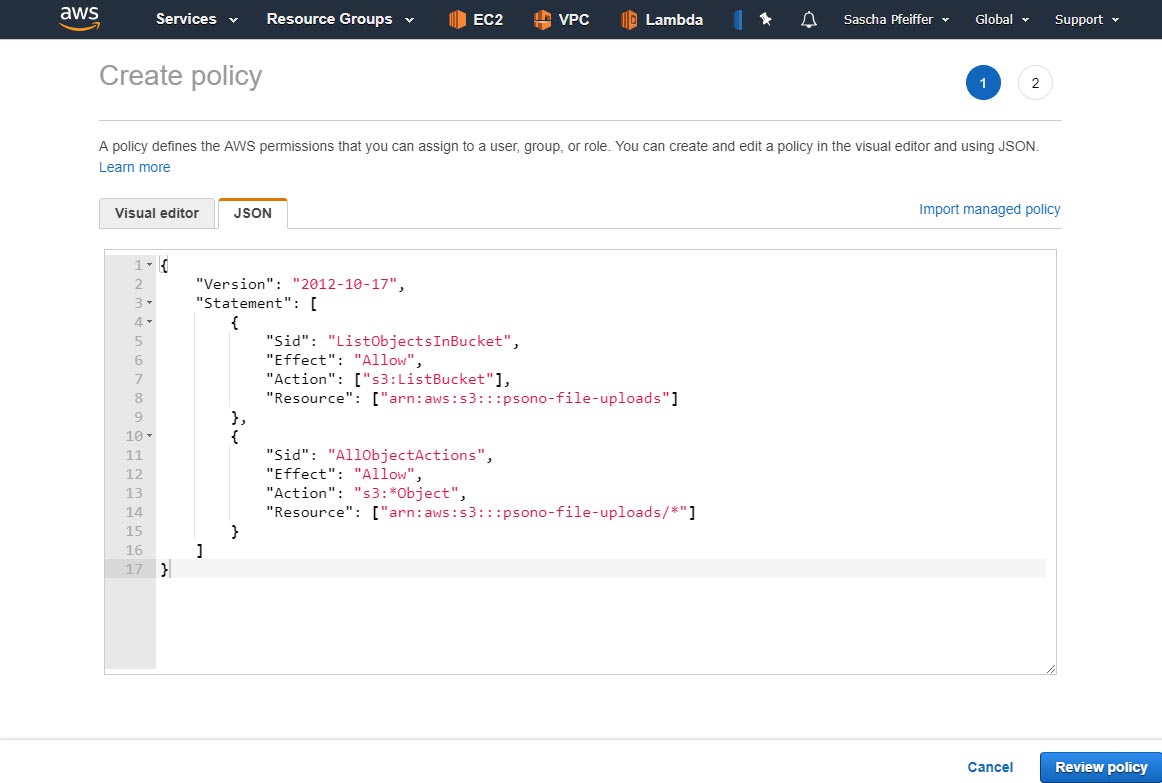
and paste the following config:
{
    "Version": "2012-10-17",
    "Statement": [
        {
            "Sid": "ListObjectsInBucket",
            "Effect": "Allow",
            "Action": [
                "s3:ListBucket"
            ],
            "Resource": [
                "arn:aws:s3:::psono-file-uploads"
            ]
        },
        {
            "Sid": "AllObjectActions",
            "Effect": "Allow",
            "Action": "s3:*Object",
            "Resource": [
                "arn:aws:s3:::psono-file-uploads/*"
            ]
        }
    ]
}
TIP
Replace psono-file-uploads with your bucket name
Click "Review Policy"
Specify a name and description
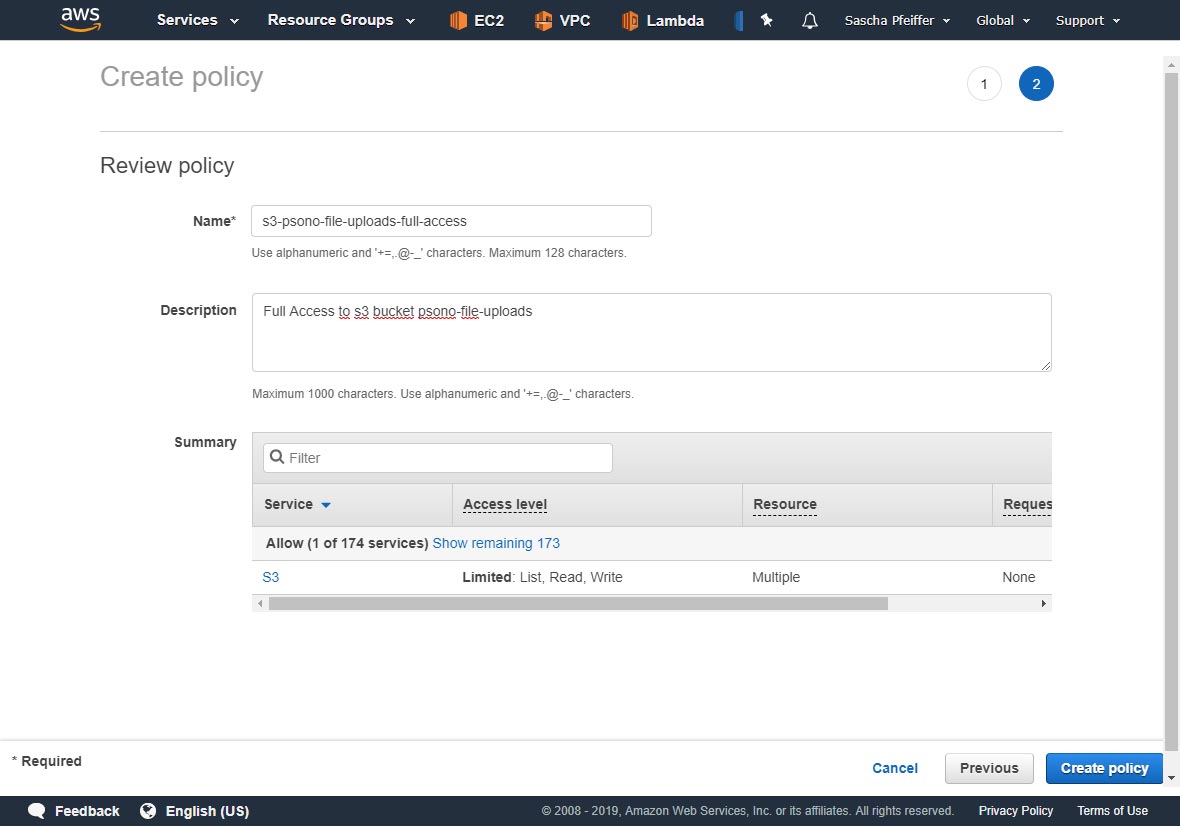
- Click "Create Policy"
# Create a user
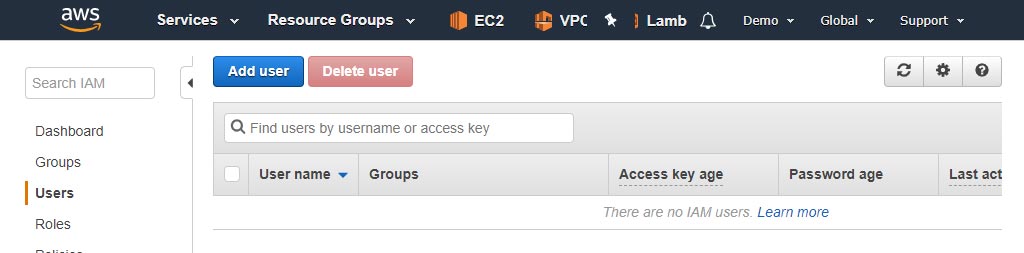
- Go to IAM
- Go to users and click "Add User"
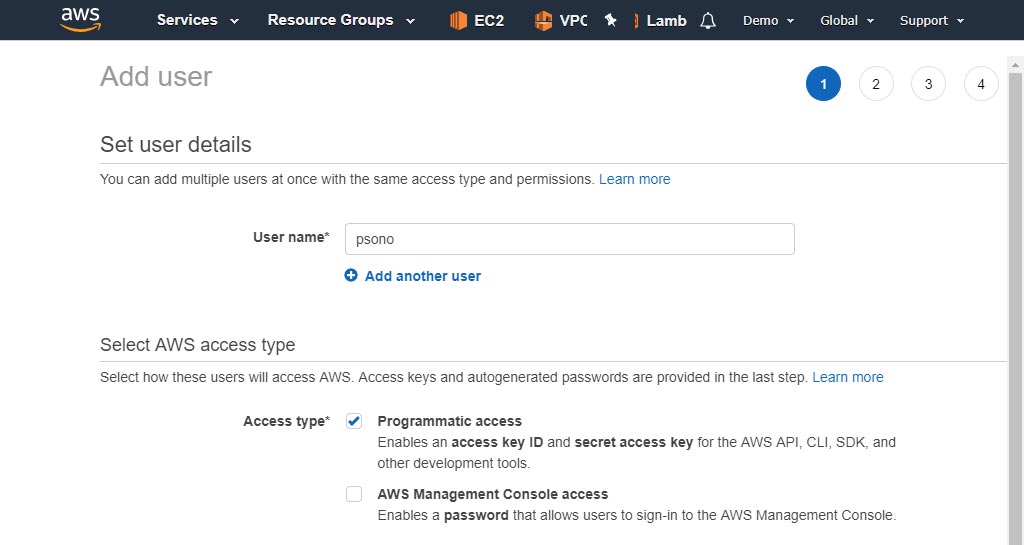
- Specify a "name" and allow "programmatic access"
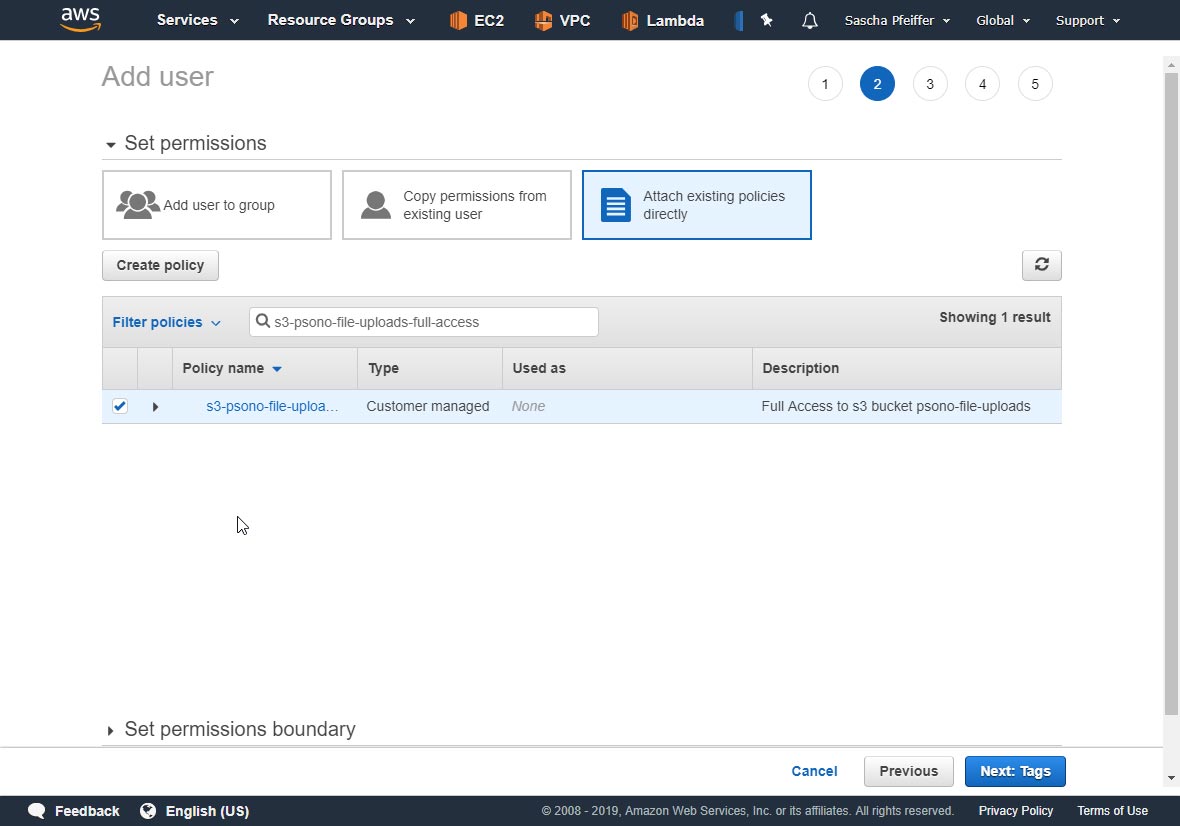
- Attach your policy
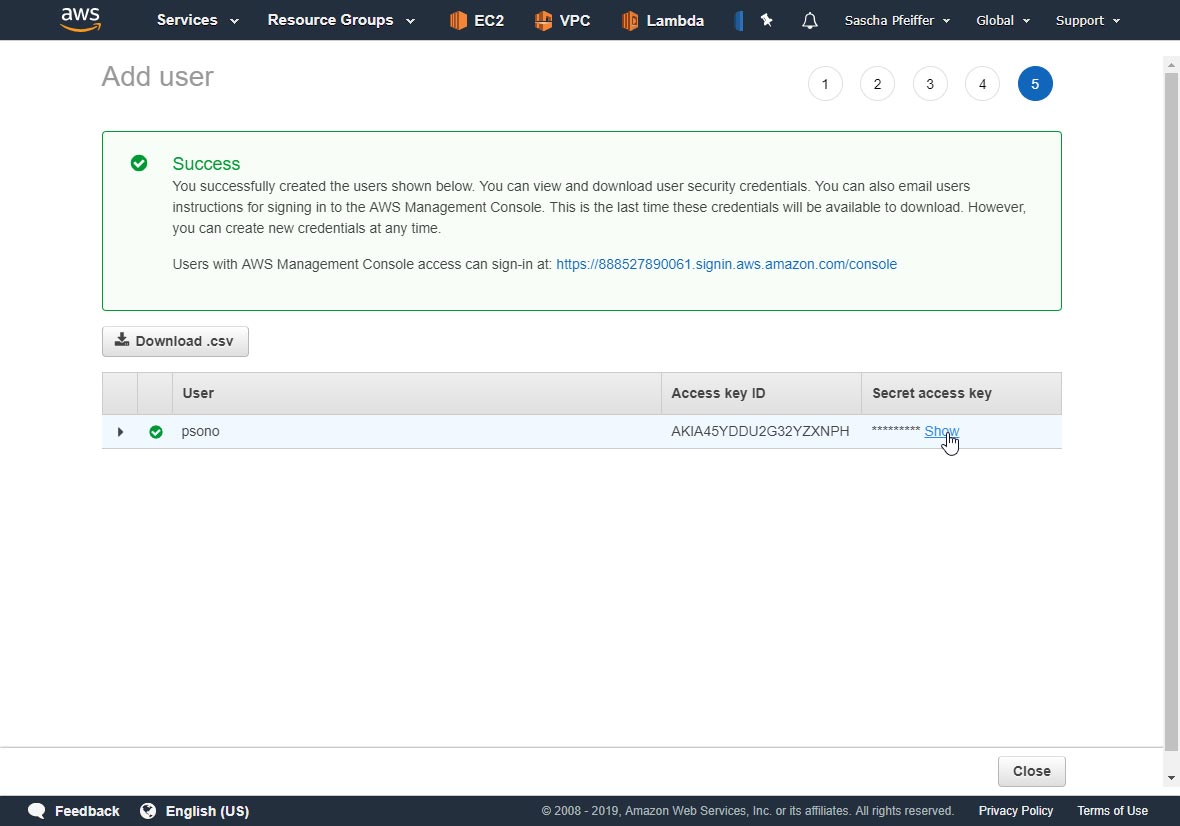
- Acquire "Access key ID" and "Secret access key"
# Configure the file repository
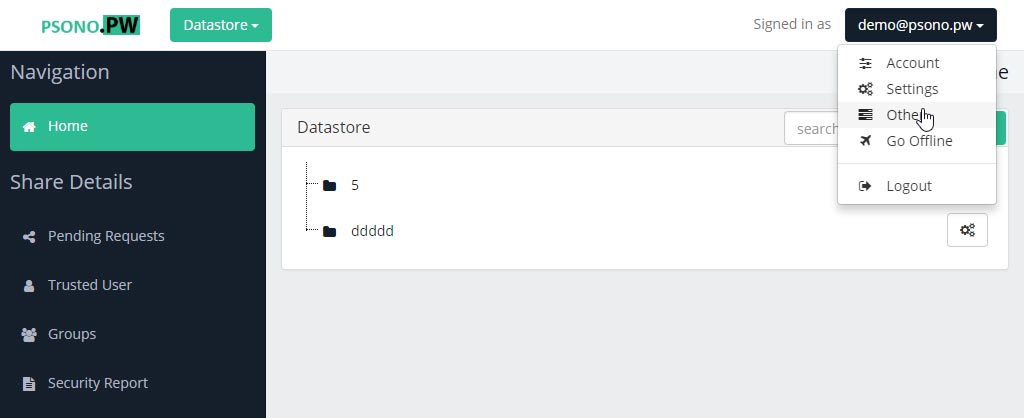
- Login to Psono

- Go to "Other"
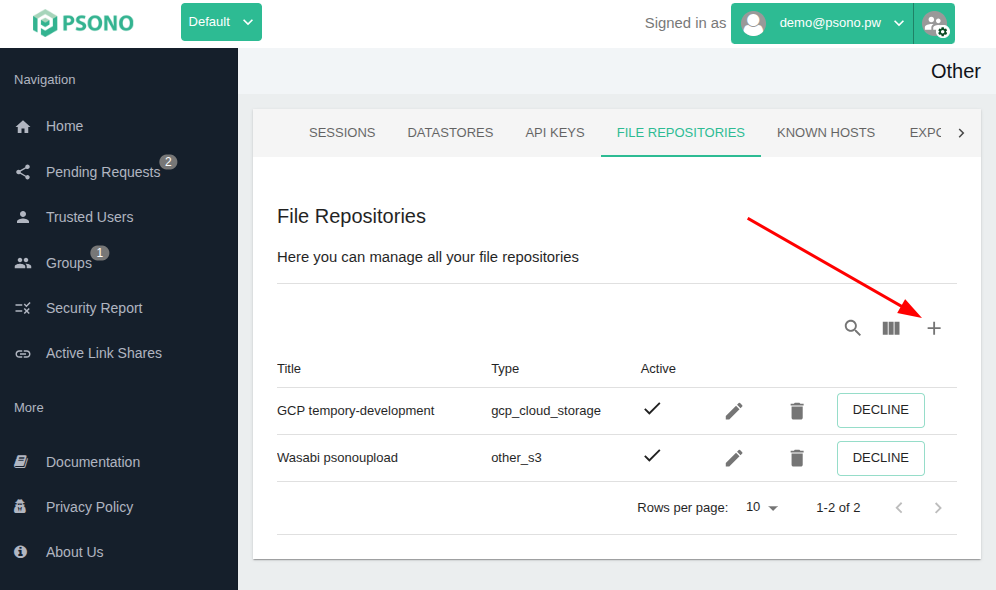
- Go to "File Repositories" and click the + Symbol
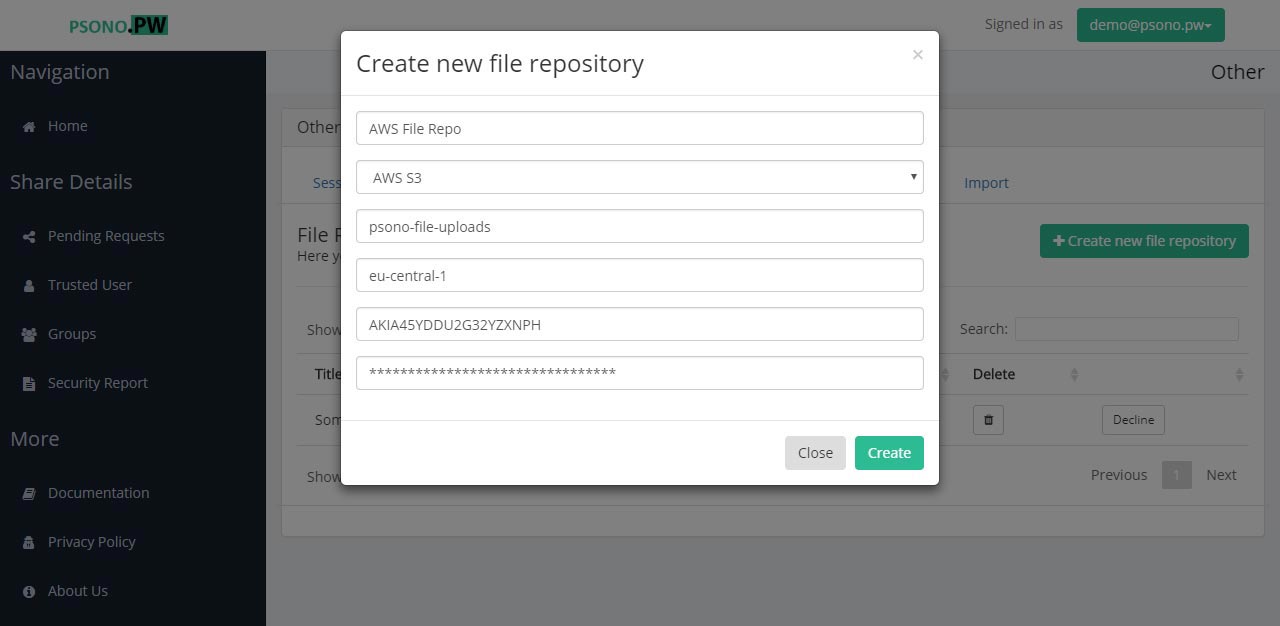
- Configure the file repository
Use any descriptive title, select AWS S3 as type, add your bucket's name, access key id and secret access key. As region you should specify a region that is closest to you from this list (opens new window)
You can now upload files from the datastore to this file repository.