# Configuration
# Preamble
We assume that you already have provisioned a Psono SaaS instance, if not please create one.
# Guide
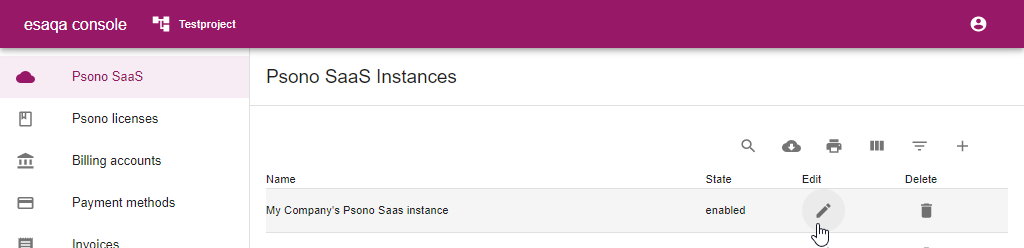
Go to "Psono SaaS" and click the pencil icon button
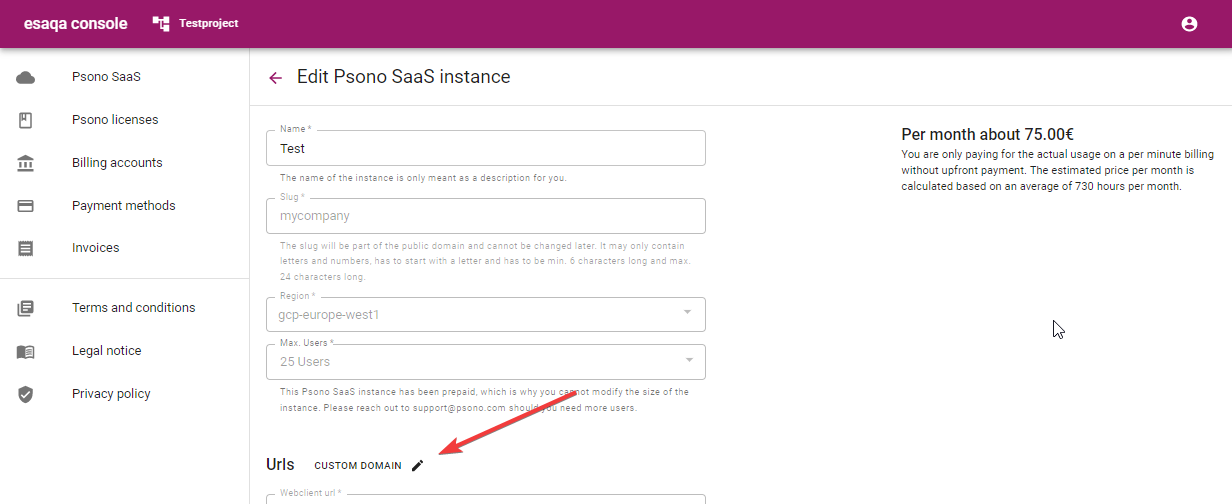
Setup custom domain (optional)
You may want to use an own domain, e.g. psono.corp.com to access your instance. It is best to configure the custom domain at the beginning before you setup, e.g. SAML or onboard users. Click on "Custom Domain"
Enter your preferred domain, e.g.
psono.corp.com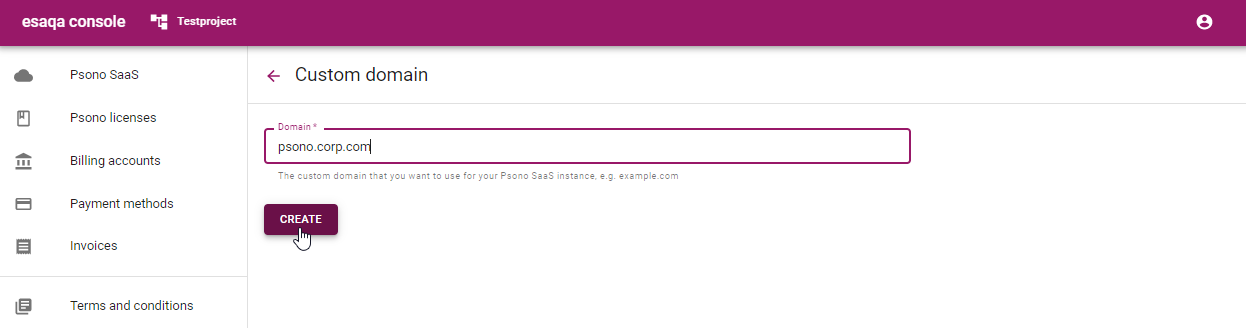
Configure the displayed
CNAMEandTXTtype DNS records.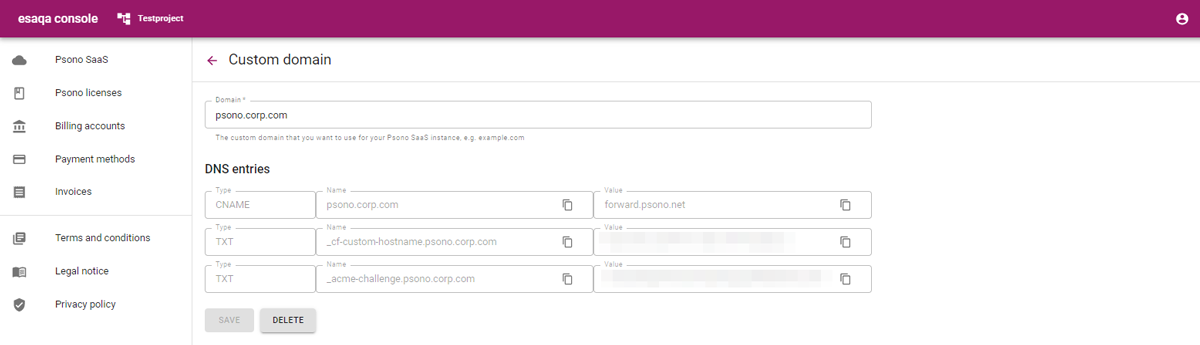
Use the "arrow" button at the top to go back to the regular settings.
TIP
It may take a couple of minutes for those domain records to show up.
Configure
settings.yamlYou can now modify all the settings according to your requirements. The settings look "cryptic" yet "map" to the settings of the regular settings of the regular
settings.yaml. Details about each can be found in the regular Admin documentation here e.g. /admin/overview/summary.html.
Configure
config.jsonSome of the documents require that you modify a
config.json. There are two of thoseconfig.json, one for the regular webclient and one for the portal. You will find these settings at the end as shown in the screenshot below.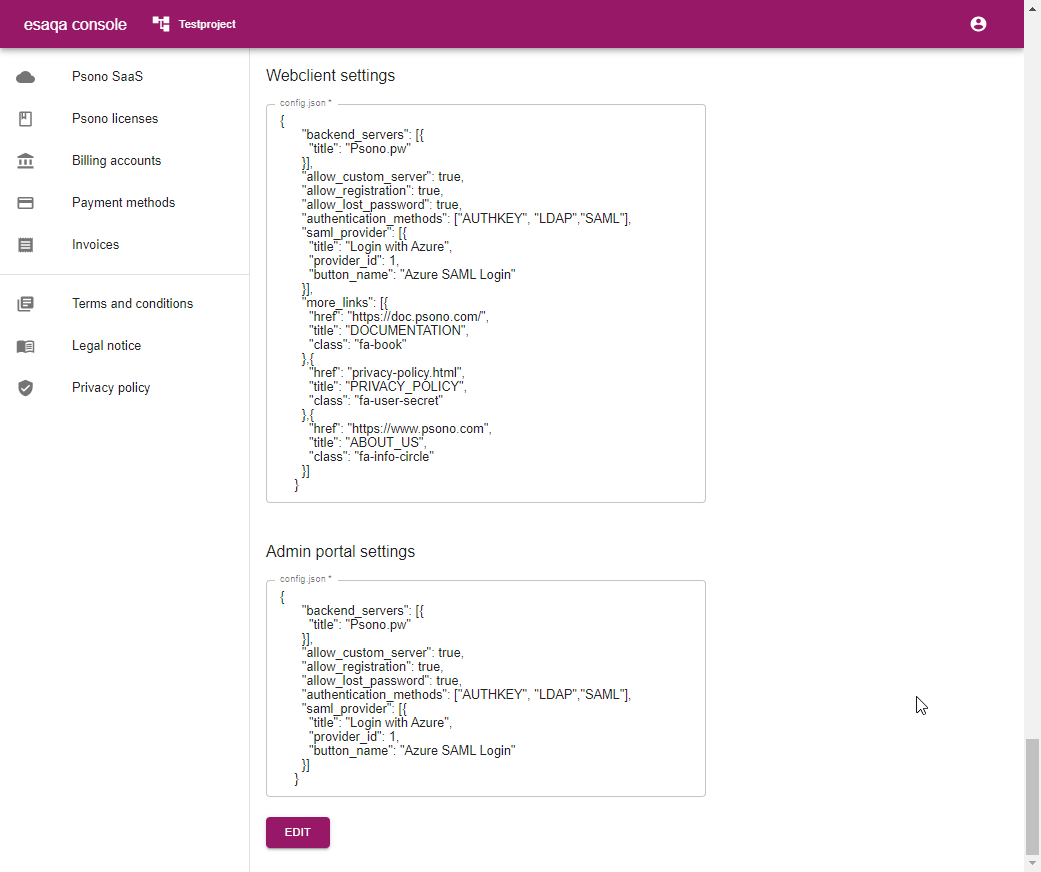
← Creation