# AWS as SAML IDP for SSO
# Preamble
The EE server and client support the SAML protocol that allows you to configure an external service as IDP (identity provider)
for SSO (single sign on).
This guide here will explain how to configure AWS as SAML IDP for SSO. We assume that AWS can firewall / network wise access your server.
In addition we assume that your webclient is running on https://example.com, the server is reachable with
https://example.com/server (e.g. https://example.com/server/info/ shows you some nice json output). This is your first
SAML provider that you want to configure (therefore we give him the ID "1").
TIP
This feature is only available in the Enterprise Edition.
# AWS
As a first step we have to configure AWS.
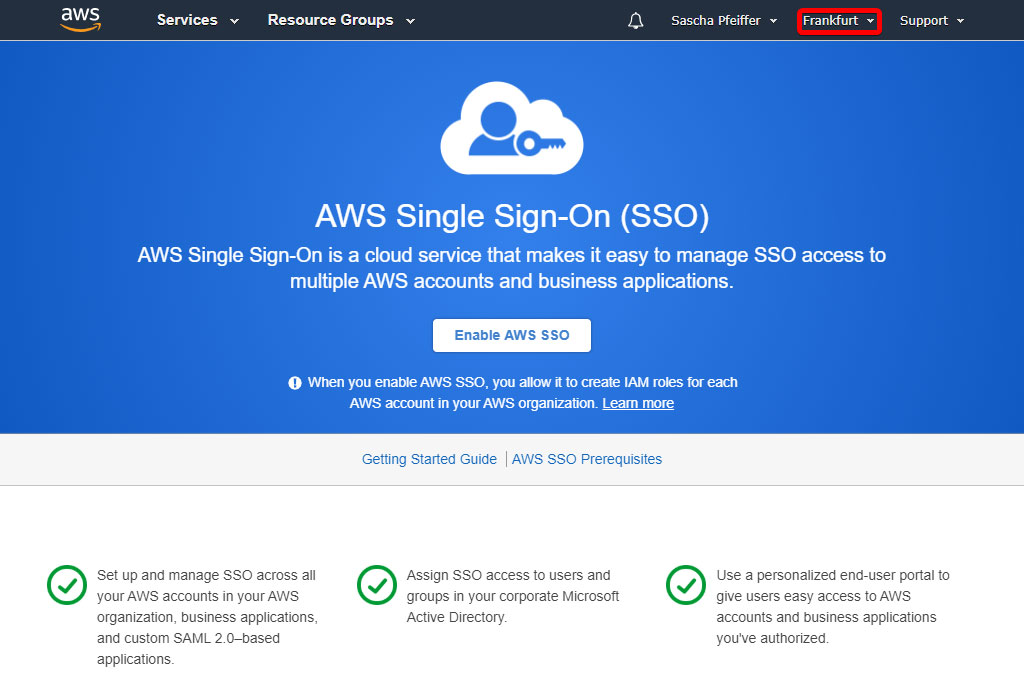
Enable AWS SSO
Go to eu-central-1.console.aws.amazon.com/singlesignon/home (opens new window). At the top right select the region, that you want to use for your SSO service. Afterwards click "Enable AWS SSO"
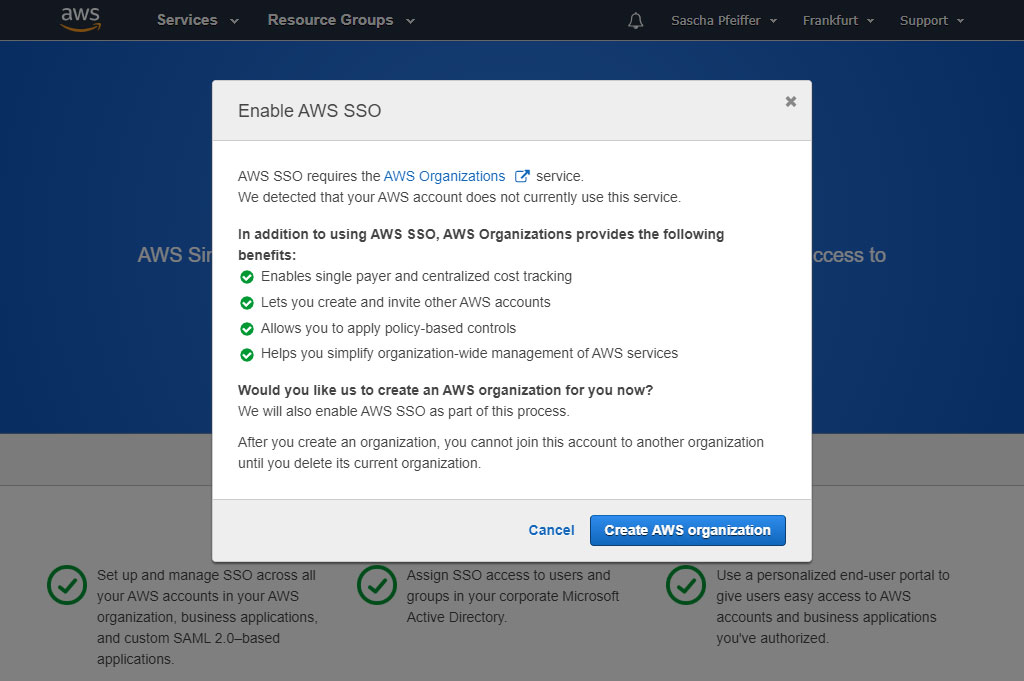
AWS might ask you to configure a organisation or enable other features. Follow the guide on the screen.
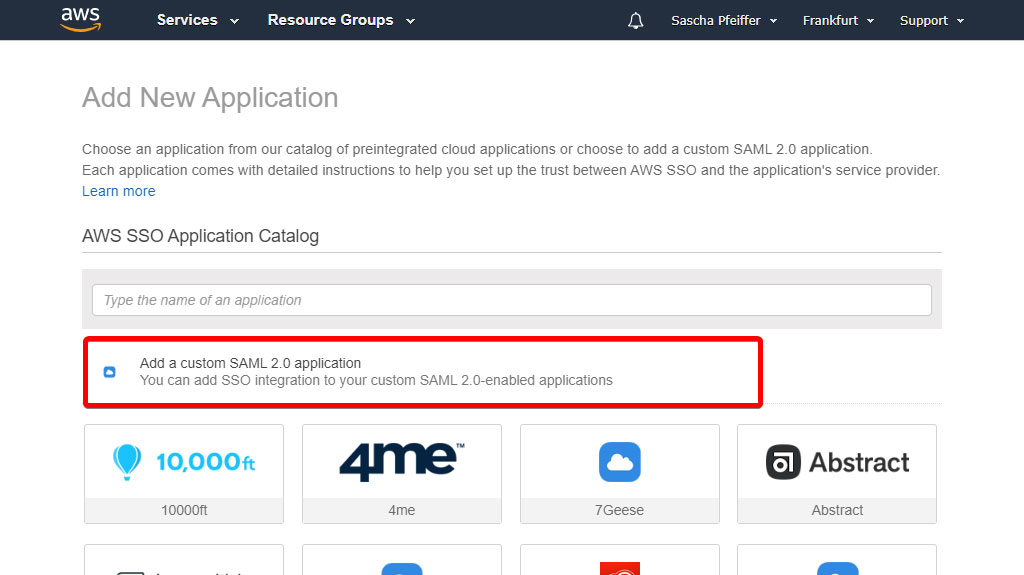
Create Application
Go to "Applications" and click "Add a new application"
Create "custom application"
Click "Add a custom SAML 2.0 application"
Configure the "custom application"
Configure the custom application as shown on this screenshot. Replace example.com and example.com/server with your parameters.
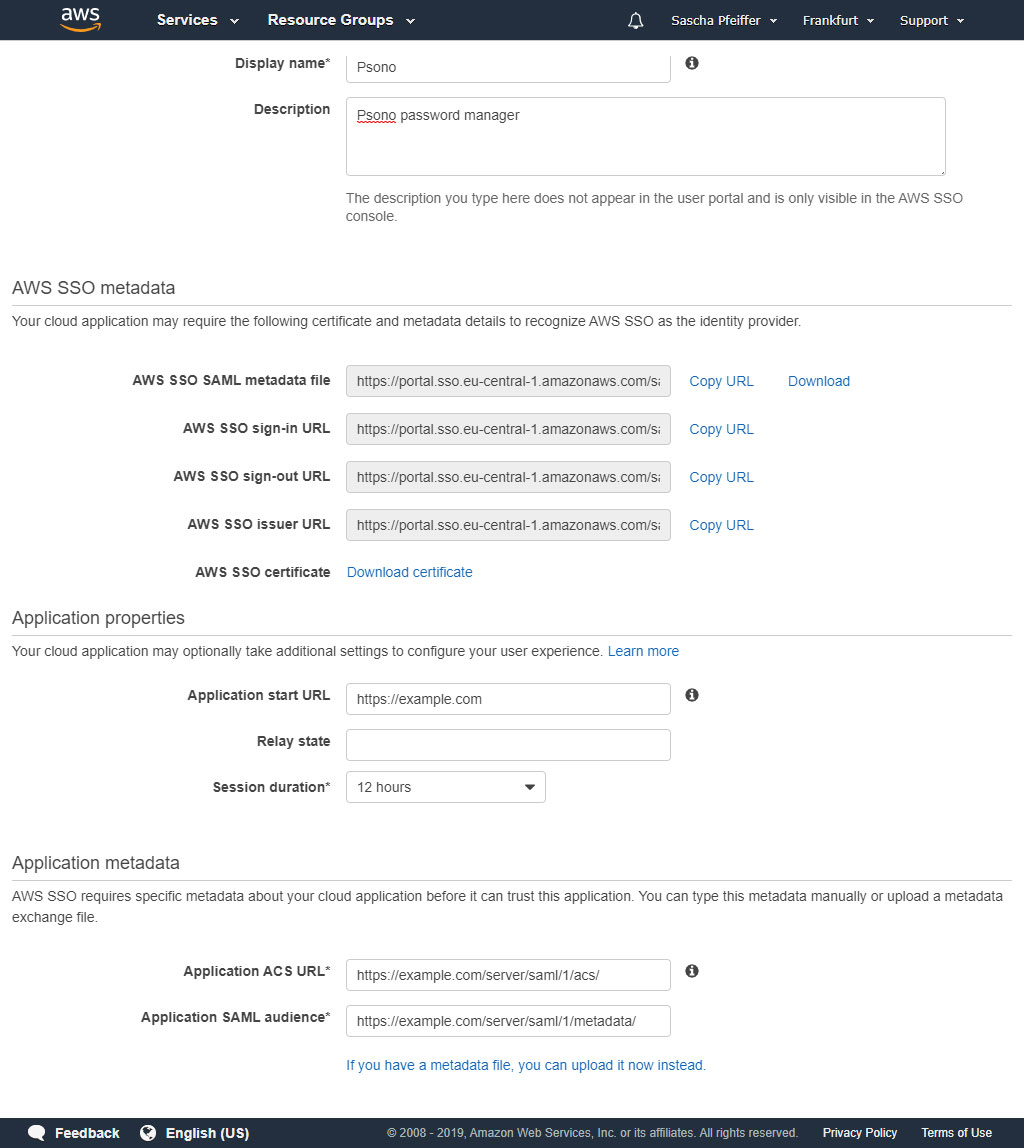
The "Application ACS URL" and "Application SAML audience" appear if you click "If you don't have a metadata file, you can manually..." link. The "1" in "Application ACS URL" and "Application SAML audience" is the SAML provider ID that needs to match the provider id in your settings.yaml later.
TIP
Make notes of the all those AWS SSO ... URLs and downnload the certificate. You will need it later.
Click save.
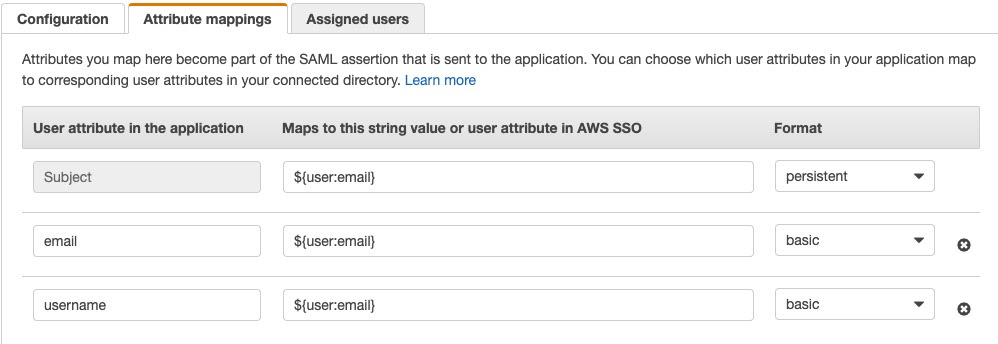
Create "Attribute mapping"
Go to the "Attribute mappings" tab and configure the attributes as shown on this screenshot.
# Server (settings.yaml)
During the installation of the server you have created a settings.yaml that needs to be adjusted now.
Generate SP certificate
You will need a certificate for your service provider (SP) later. You can generate one easily with:
openssl req -new -newkey rsa:2048 -x509 -days 3650 -nodes -sha256 -out sp_x509cert.crt -keyout sp_private_key.keyThis will generate a private key (sp_private_key.key) and the public certificate (sp_x509cert.crt).
Comment in the following section:
SAML_CONFIGURATIONS: 1: idp: entityId: "AWS_SSO_SIGN_IN_URL" singleLogoutService: binding: "urn:oasis:names:tc:SAML:2.0:bindings:HTTP-Redirect" url: "AWS_SSO_SIGN_OUT_URL" singleSignOnService: binding: "urn:oasis:names:tc:SAML:2.0:bindings:HTTP-Redirect" url: "AWS_SSO_SIGN_IN_URL" x509cert: "AWS_SSO_CERTIFICATE" groups_attribute: "groups" username_attribute: "username" email_attribute: "email" username_domain: "example.com" required_group: [] is_adfs: false honor_multifactors: true max_session_lifetime: 43200 sp: NameIDFormat: "urn:oasis:names:tc:SAML:2.0:nameid-format:persistent" assertionConsumerService: binding: "urn:oasis:names:tc:SAML:2.0:bindings:HTTP-POST" attributeConsumingService: serviceName: "Psono" serviceDescription: "Psono password manager" requestedAttributes: - attributeValue: [] friendlyName: "" isRequired: false name: "attribute-that-has-to-be-requested-explicitely" nameFormat: "" privateKey: "SP_PRIVATE_CERTIFICATE" singleLogoutService: binding: "urn:oasis:names:tc:SAML:2.0:bindings:HTTP-Redirect" x509cert: "SP_X509CERT" strict: true- Replace
AWS_SSO_SAML_METADATA_FILE_URLwith the "AWS SSO SAML metadata file" url from previous AWS configuration. - Replace
AWS_SSO_SIGN_OUT_URLwith the "AWS SSO sing-out URL" from previous AWS configuration. - Replace
AWS_SSO_SIGN_IN_URLwith the "AWS SSO sing-in URL" from previous AWS configuration. - Replace
AWS_SSO_CERTIFICATEwith the "AWS SSO certificate" from previous AWS configuration. (remove all line breaks) - Replace
SP_PRIVATE_CERTIFICATEwith the content of the previous generated "sp_private_key.key". (remove all line breaks) - Replace
SP_X509CERTwith the content of the previous generated "sp_x509cert.crt". (remove all line breaks)
Restart the server afterward
- Replace
Adjust authentication methods
Make sure that
SAMLis part of theAUTHENTICATION_METHODSparameter in your settings.yaml e.g.AUTHENTICATION_METHODS: ['SAML']Restart the server afterward
(optional) Server Secrets
By default the server will keep a copy of the user's secret keys to allow people to login without a password. If you want client-side encryption without server-held user keys, forcing users to enter a separate encryption password, specify the following in your settings.yaml. You can also decide later and change that and migrate users during the login or apply this setting only to particular users or groups with policies in the Admin Portal.
COMPLIANCE_SERVER_SECRETS: 'noone'WARNING
If a user loses his password he will lose all his data.
(optional) Debug Mode
It is helpful in the later debugging to enable debug mode.
DEBUG: TrueWARNING
Restart the server afterward and don't forget to remove it before going to production.
# Client (config.json)
Now you have to configure your client, so your users can use this configured IDP.
Basic
Update your config.json similar to the one shown below.
{
  ...
    "authentication_methods": ["SAML"],
    "saml_provider": [{
      "title": "SAML Login",
      "provider_id": 1,
      "button_name": "Login "
    }]
  ...
}
The variable authentication_methods restricts the allowed login methods. In the example above only SAML will be allowed and the normal login "hidden". The title and button_name can be adjusted however you like. The
provider_idneeds to match the one that you used on your server.(optional) Automatic login
You may want to "automatically" click on the login button to initiate the login flow. You can accomplish this by modifying the config.json as shown below:
{
  ...
    "authentication_methods": ["SAML"],
    "auto_login": true,
  ...
}
WARNING
This will only work if you have just one provider configured with only one authentication method. Users won't be able to modify the server url nor choose to register or interact with the login form in any other way.